 Pin it
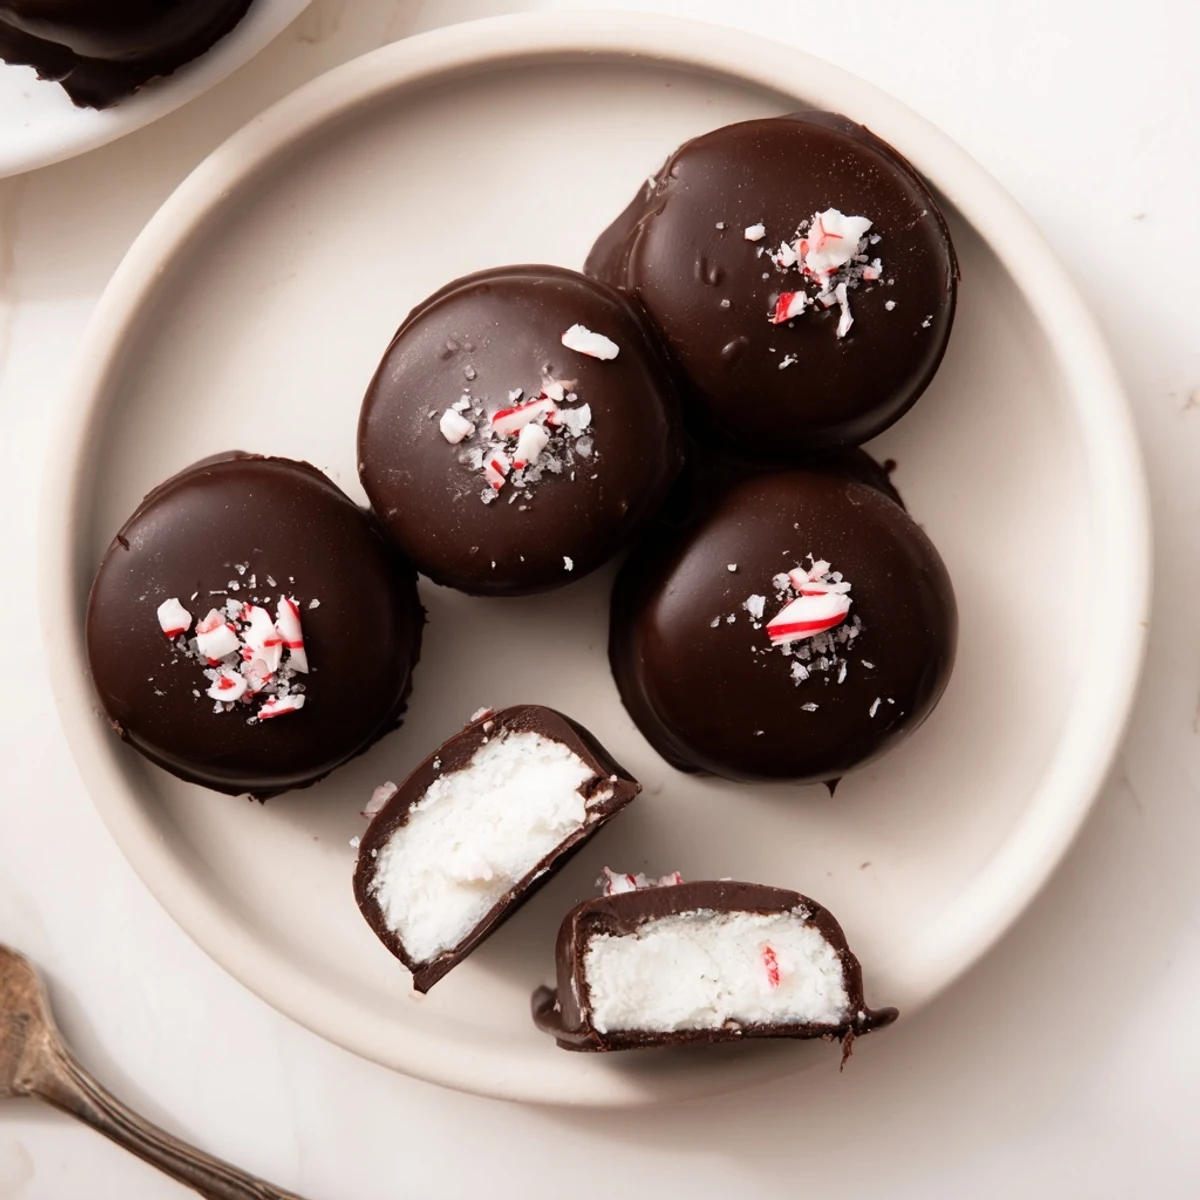
 Bright peppermint centers are made by beating sifted powdered sugar with softened butter, peppermint extract, cream and a pinch of salt into a smooth, pliable dough. Scoop, flatten and freeze the discs until firm, then dip in melted dark chocolate (add a touch of coconut oil for shine). Return to parchment and chill until set. Sprinkle crushed peppermint or flaky sea salt before the coating firms. Yields about 24 patties; prep is quick with 20–30 minutes freezing and a short chill to set. Suitable for vegetarian diets and easily adapted to dairy-free versions using plant-based butter and coconut cream.
The first time I made peppermint patties from scratch was out of pure curiosity during a snowstorm, when the promise of cool mint and crisp chocolate was too tempting to ignore. I plundered the pantry and found everything I needed, not quite believing how simple these iconic treats could be. There was something cozy about shaping each circle in a warm kitchen, the wintry scent of peppermint mixing with melting chocolate. Who knew that a handful of everyday ingredients could taste so decadent?
One chilly December evening, I surprised my friends with a fresh batch of homemade peppermint patties as we played board games. Passing around the platter, laughter erupted over chocolate-stained fingers and the inevitable debate: to eat it in one bite or savor it slowly. When even the self-professed dessert skeptic reached for seconds, I knew this recipe was here to stay.
Ingredients
- Powdered sugar: Sift it well for a silky filling that melts in your mouth and helps prevent lumps.
- Unsalted butter: Use softened butter to blend smoothly the first time and keep your filling lush, not greasy.
- Peppermint extract: Go for pure extract—it keeps the flavor clean and sharp rather than toothpastey.
- Heavy cream: Adds just enough moisture for that soft bite; if you prefer a stiffer center, add the cream slowly and stop early.
- Salt: A little pinch balances out the sweetness and lifts the mint to the forefront.
- Dark chocolate: Use good-quality chocolate (60–70% cocoa) for a snappy shell that isnt too bitter.
- Coconut oil (optional): This makes the chocolate coating glossy and easier to handle, especially if your kitchen is chilly.
Instructions
- Make the mint dough:
- In a large mixing bowl, beat powdered sugar, butter, peppermint extract, heavy cream, and salt together until a smooth, pliable dough forms. If it sticks to your fingers, add a touch more powdered sugar and test again until it's easy to roll.
- Shape the patties:
- Scoop out 2 teaspoon-sized balls and gently roll, then flatten to 1/4-inch thick discs. Lay each disc carefully on a parchment-lined baking sheet so they won't stick as they chill.
- Chill the discs:
- Slide the tray into the freezer for 20 to 30 minutes until the patties are firm and easy to handle.
- Melt the chocolate:
- Set a heatproof bowl over simmering water and add the dark chocolate and coconut oil, stirring until you have a glossy, completely melted pool with no lumps.
- Dip and coat:
- Lift each chilled disc with a fork, dip it into the chocolate, and let the excess drip away—patience here pays off with tidy results.
- Set the chocolate:
- Return dipped patties to the parchment and chill in the fridge for 15 minutes, or until the chocolate is fully set and their smell is irresistible.
 Pin it
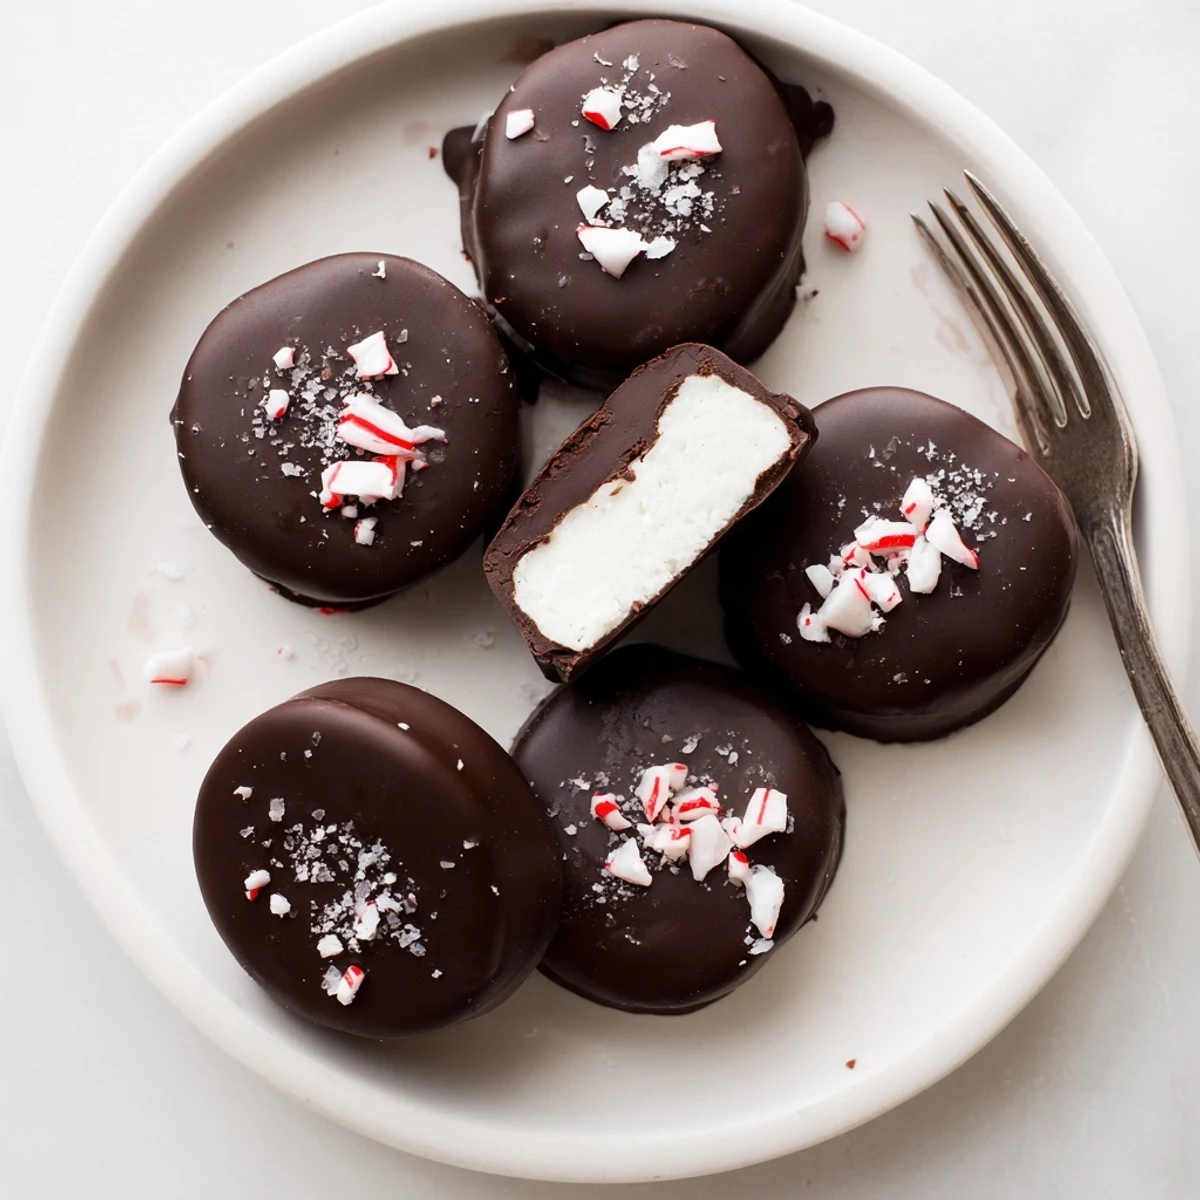
 Watching someone take a cool, chocolatey bite and close their eyes for a moment always reminds me these are more than just candy—theyre a way to pause and enjoy something simple, together.
How to Keep Things Neat
I learned to work in small batches and keep half the discs in the freezer while dipping the others. Warmer fillings get messy quickly, so cycling them avoids chocolate chaos. Lining your tools up before starting makes it way more relaxing.
Making Them Festive
A sprinkle of crushed peppermint candy or flaky sea salt before the chocolate sets adds a little sparkle and texture. They look beautiful peeking out of a gift tin, and its one reason friends drop hints for a package each holiday. These tiny touches really make them feel special for a celebration.
Storing & Sharing Tips
Airtight containers keep your patties perfectly fresh in the fridge for up to two weeks, and they even taste amazing straight from the freezer. If youre gifting, separate layers with parchment so the chocolate stays pristine and inviting.
- Let them sit at room temperature for five minutes before serving for the ultimate creamy center.
- Double the recipe if you expect guests—these disappear fast.
- Always hide a couple for yourself at the back of the fridge.
 Pin it
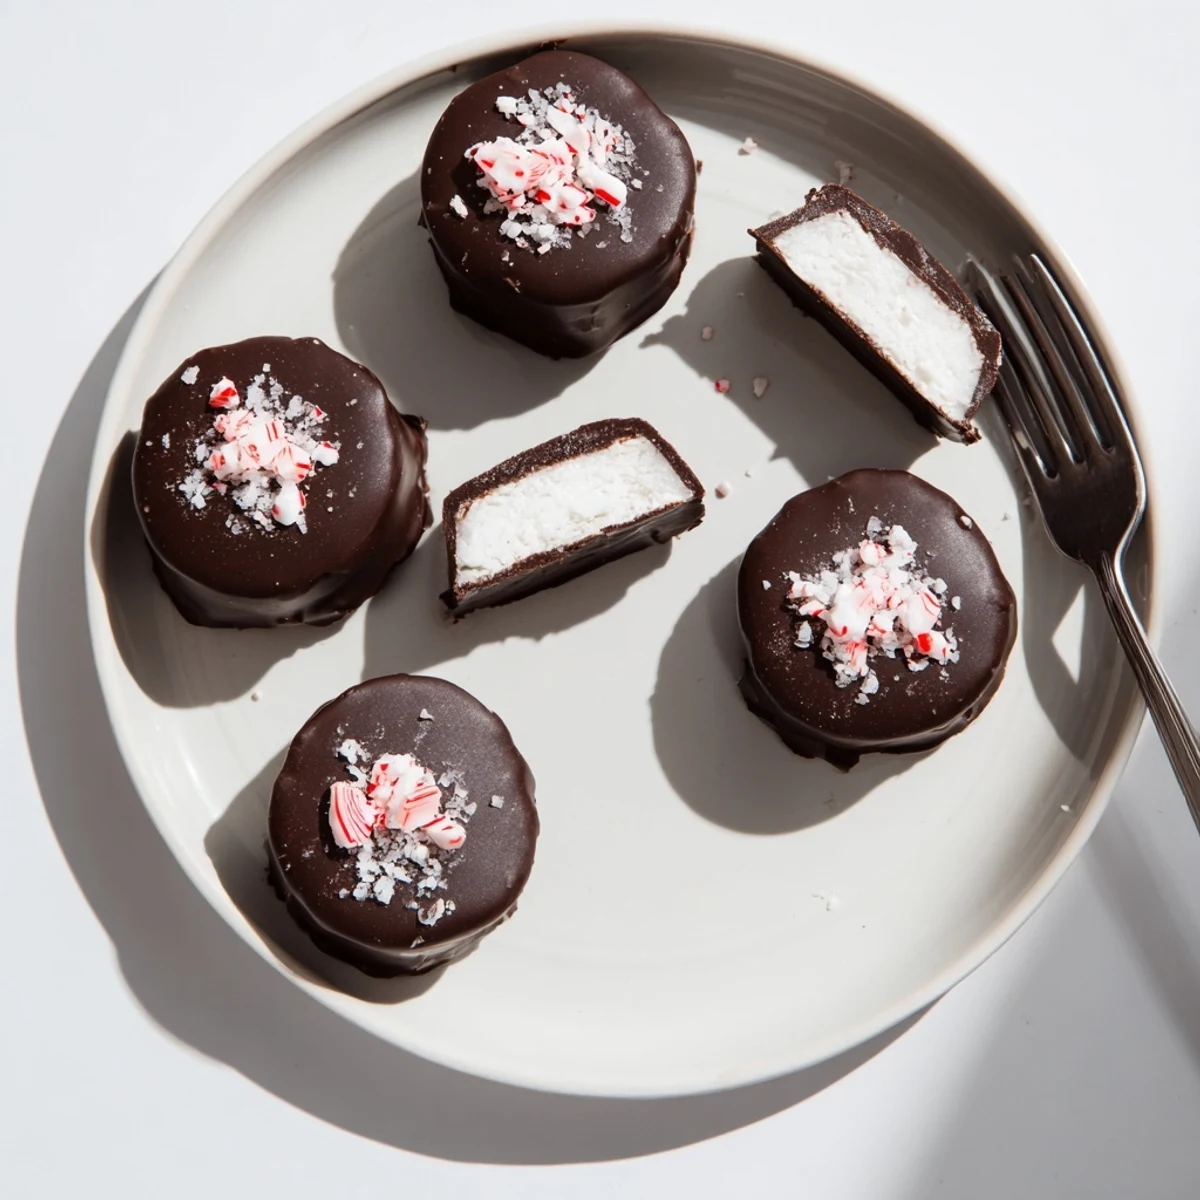
 Making peppermint patties at home keeps the spirit light and playful in the kitchen, and somehow the chocolate always cures any rainy-day mood. Share them generously—or save just one for a secret treat.
Recipe Q&A
- → How do I stop the filling from being too sticky?
-
Gradually add sifted powdered sugar while mixing until the dough is smooth but not tacky. If it remains sticky, chill the mixture briefly to firm it up before shaping.
- → What chocolate works best for coating?
-
Use dark chocolate 60–70% cocoa for a balanced bitterness and good snap. Chop evenly and melt gently over simmering water to avoid seizing; a little coconut oil smooths the coating.
- → Can these be made dairy-free or vegan?
-
Yes. Substitute dairy-free butter and coconut cream for the filling and choose dairy-free dark chocolate. Check labels for hidden dairy or emulsifiers.
- → How do I achieve a glossy, even coating?
-
Work with warm, fully melted chocolate and dip quickly, letting excess drip off. Chill briefly on parchment to set; a small amount of neutral oil helps with shine if you skip tempering.
- → How should I store the finished patties?
-
Keep them in an airtight container in the refrigerator for up to two weeks. Bring to room temperature a few minutes before serving for best texture.
- → Any tips for decorating or gifting?
-
Before the coating sets, sprinkle crushed peppermint, toasted cocoa nibs or flaky sea salt for contrast. Layer between parchment in a tin for attractive gift presentation.
