 Pin it
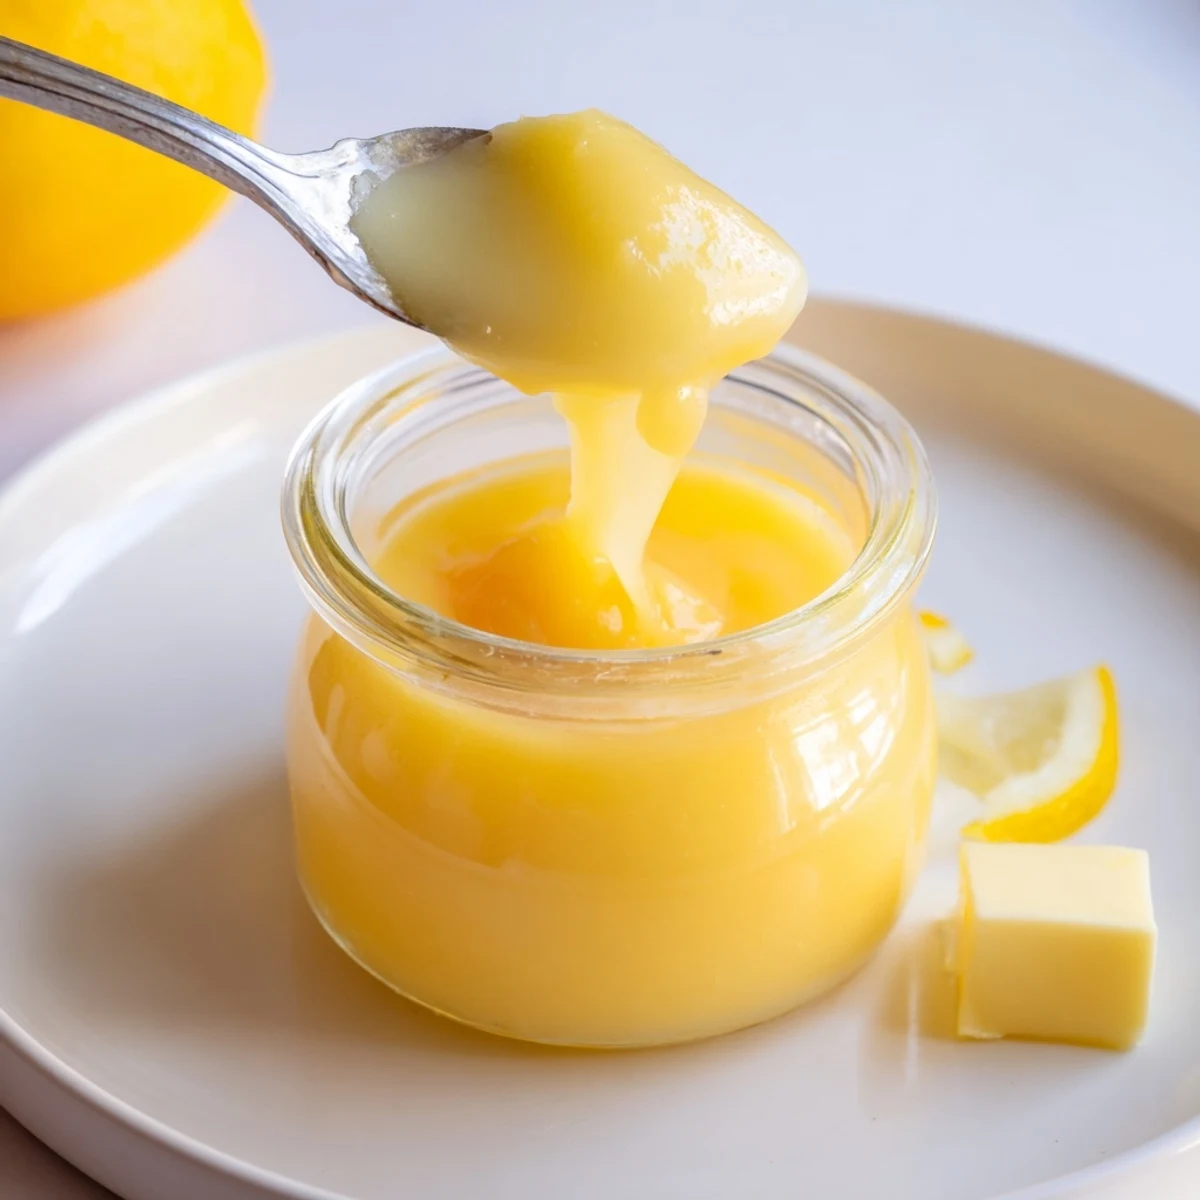
 Make silky lemon curd by whisking eggs and sugar, then stirring in fresh lemon zest and juice. Cook gently in a double boiler, whisking until thick and the mixture coats the back of a spoon (about 8-10 minutes). Remove from heat and whisk in cubed butter until smooth, then strain into jars. Yields about 2 cups; refrigerate up to 2 weeks. For dairy-free, swap in plant-based butter; strain twice for extra-smooth texture.
The scent of fresh lemon zest never fails to put a spark in my step, especially when I’m making lemon curd. I’ve whipped up countless batches, but each time, that joyful rush of citrus filling the kitchen still feels new. The very first time, it was sheer curiosity that led me here—what could be better than capturing all that tangy brightness in a jar? Turning each swirl on the whisk into sunshine feels like my own bit of culinary magic.
I once made a double batch on a lazy Saturday, just as friends were arriving unexpectedly—it turned a simple toast breakfast into something everyone lingered over. We ended up chatting so long, the sun was high before the last scone was gone, each of us with sticky, lemony fingers and grins.
Ingredients
- Eggs (4 large): Essential for that creamy, custardy texture—be sure they’re at room temperature to blend smoothly.
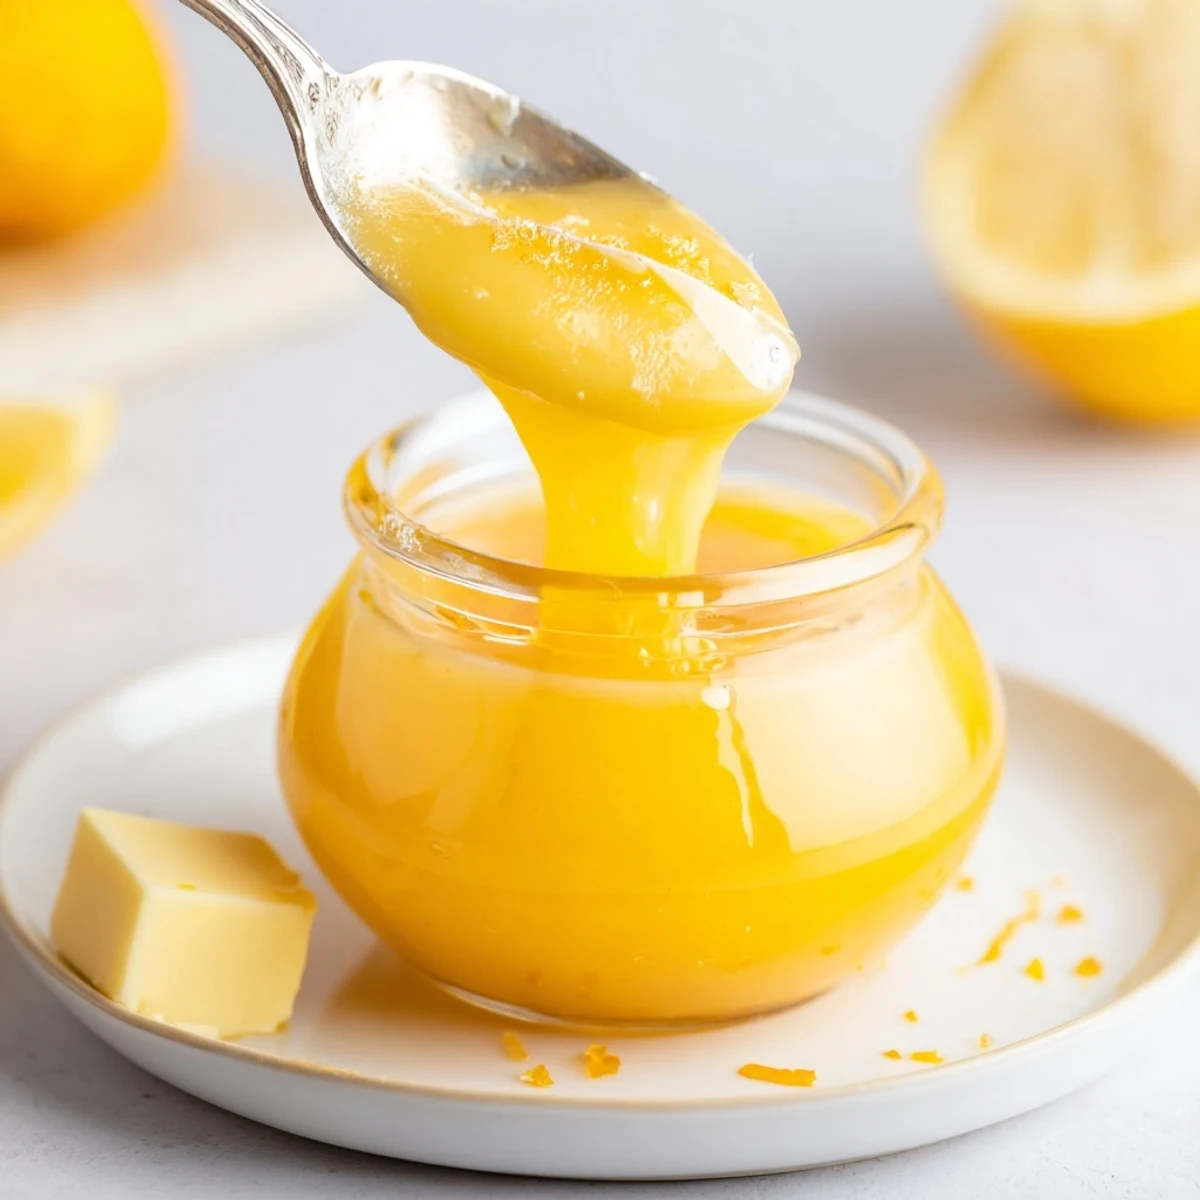
- Unsalted butter (4 tablespoons, cubed): Carries the lemon flavor and creates that signature silkiness; adding it at the end keeps the curd glossy.
- Fresh lemons (3 large, zest and juice): For the brightest flavor, zest the lemons before juicing and only use fresh—bottled juice just isn’t the same.
- Granulated sugar (200 g or 1 cup): Not just for sweetness—it balances the tartness and helps set the curd perfectly.
Instructions
- Blend the eggs and sugar:
- Grab a heatproof bowl and whisk the eggs with sugar until the mix is pale and smooth—feel how it thickens as the sugar dissolves.
- Add the lemon:
- Stir in all the zest and juice; the citrusy aroma always gives me a jolt of anticipation.
- Cook gently over steam:
- Set the bowl over simmering water, making sure the base stays clear of the water, and whisk constantly as the mixture warms and thickens—don’t rush, it’ll coat your spoon just right in about 8 to 10 minutes.
- Incorporate the butter:
- Take off the heat and steadily whisk in the butter cubes until you have a beautifully glossy, smooth curd.
- Strain for silkiness:
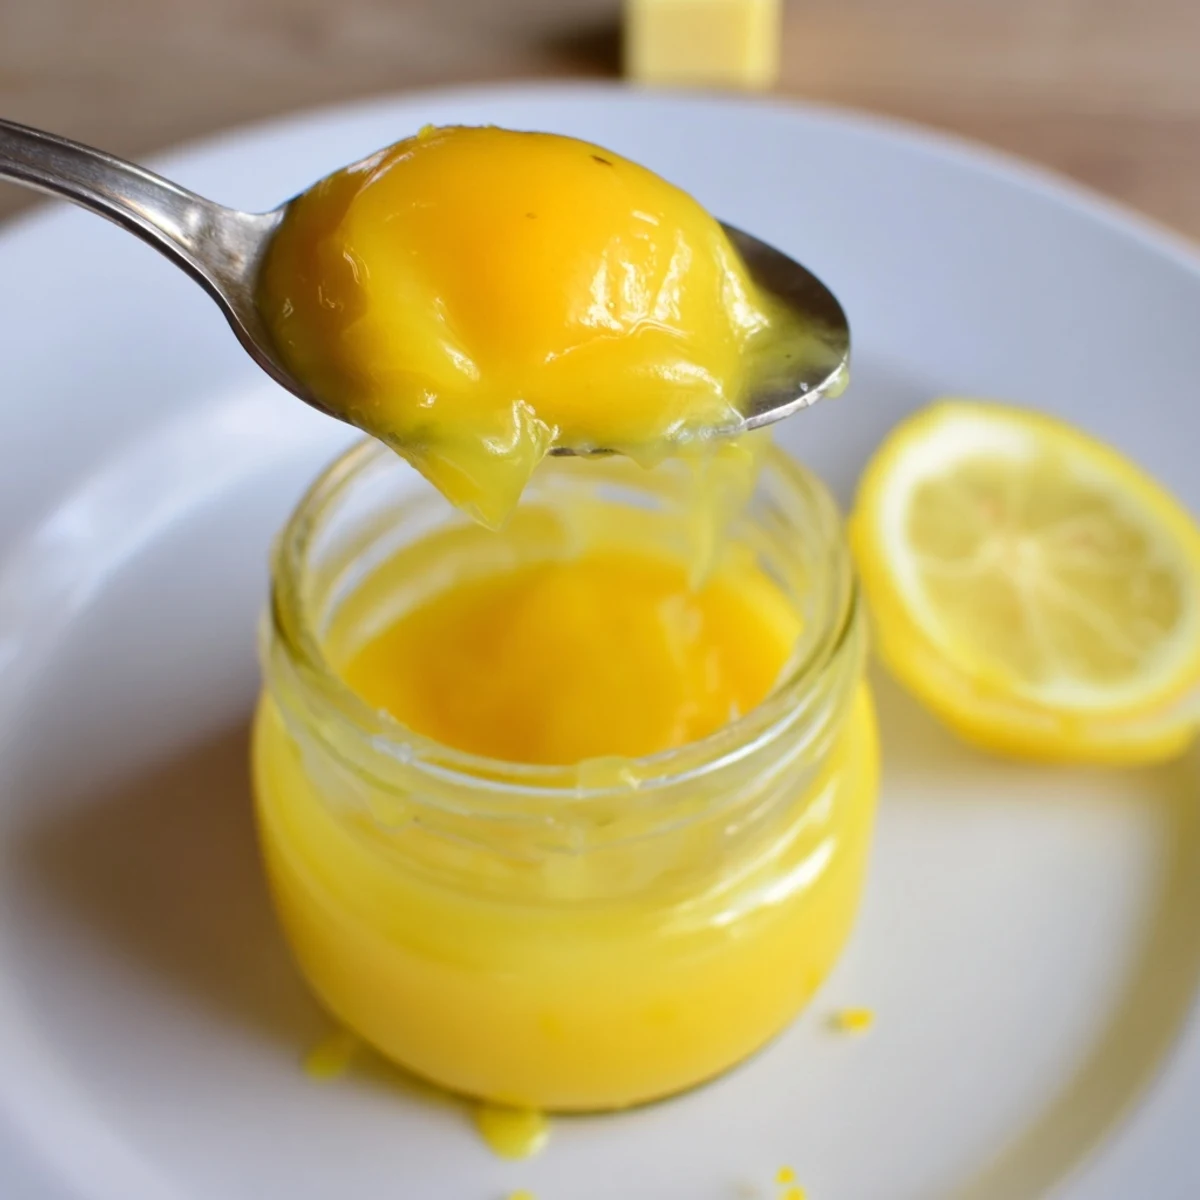
- Pour through a fine-mesh sieve into a clean bowl to catch any bits, leaving you with pure gold.
- Cool and store:
- Let it cool, then portion into sterilized jars—pop them in the fridge and sneak a spoon whenever you need a little brightness.
 Pin it
 Once, my nephew helped zest the lemons, covering half the counter (and himself) in fragrant curls. The giggles and sticky hands that day made the batch taste even better—sometimes I wonder if lemon curd can carry memories as well as flavor.
How To Get That Perfect Texture
Don’t judge doneness by patience alone—dip a spoon in and swipe your finger across the back. If the line holds, you’ve hit that lush, spreadable stage, and it’s time for butter to do its magic.
Ways To Enjoy Your Lemon Curd
This spread is so versatile: slather it between cake layers, dollop it onto a warm crumpet, or swirl it into thick Greek yogurt for a bright morning treat. I even tuck spoonfuls into tart shells when I need to impress in a hurry.
Keeping Lemon Curd Fresh and Vibrant
Always use sterilized jars to make sure your curd stays delicious for as long as possible—plus, it gives that satisfying little ‘pop’ when you open a fresh jar weeks later.
- Let the curd cool completely before sealing.
- Label jars with the date—trust me, they disappear fast!
- Always use a clean spoon for every dip in to keep it lasting longer.
 Pin it
 With a jar of lemon curd in the fridge, each day gets just a bit brighter and sweeter. It’s a small effort that pays back with every spoonful.
Recipe Q&A
- → How do I know when the curd is done?
-
The curd is ready when it thickly coats the back of a spoon and a finger dragged across the spoon leaves a clear line. This usually takes about 8-10 minutes over a gentle simmer.
- → Can I use a saucepan instead of a double boiler?
-
You can use a heavy-bottomed saucepan over very low heat, but a double boiler gives gentler, more even heat and reduces the risk of scrambled eggs. If using a saucepan, whisk constantly and monitor temperature closely.
- → Why should I strain the curd?
-
Straining removes any bits of cooked egg or coarse zest for a smoother texture. For a super-silky finish, pass the curd through a fine-mesh sieve twice.
- → How long will lemon curd keep in the fridge?
-
Stored in sterilized jars in the refrigerator, lemon curd will keep for up to 2 weeks. Always use clean utensils to avoid contamination.
- → How can I make a dairy-free version?
-
Replace butter with a firm, plant-based butter or a neutral-tasting oil used sparingly; add it off heat and whisk until incorporated. The texture may be slightly different but still rich and spreadable.
- → What are common uses for lemon curd?
-
Lemon curd is excellent spread on scones or toast, used as a tart or cake filling, folded into yogurt, or spooned over pavlova and other desserts for bright citrus flavor.
