 Pin it
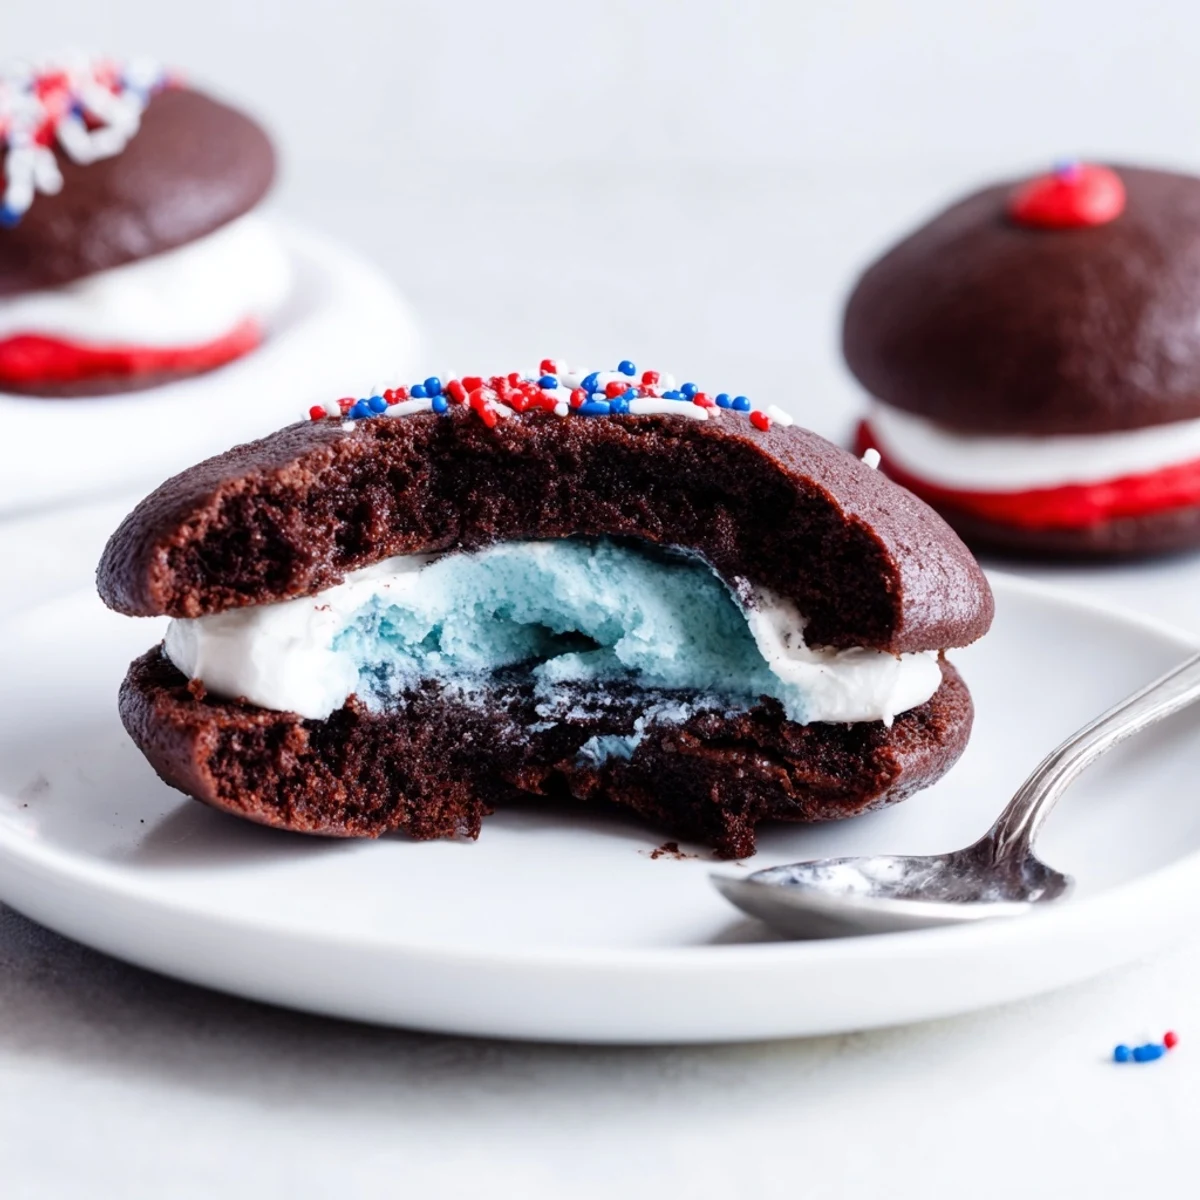
 These soft chocolate whoopie cakes bake up tender and cakey, then are sandwiched with a light marshmallow-buttercream that's divided and tinted red, white and blue. Pipe or spoon the filling, assemble into 12 sandwiches, and roll the edges in patriotic sprinkles for a festive finish. Use gel color for vivid shades, chill briefly for easier handling, or swap a gluten-free flour blend if needed.
The first July that I braved making patriotic whoopie pies, I remember music drifting through an open window while food coloring stained my fingertips in stripes of red and blue. Every summer since, they've become the unofficial signal that a backyard celebration is about to begin—nothing says party quite like messy bowls and a hint of chaos in the kitchen. The whir of the mixer gets drowned out by laughter, and by the end, the scent of cocoa and vanilla fills every corner. You do not simply make these pies—you invite a little bit of festivity right into your kitchen.
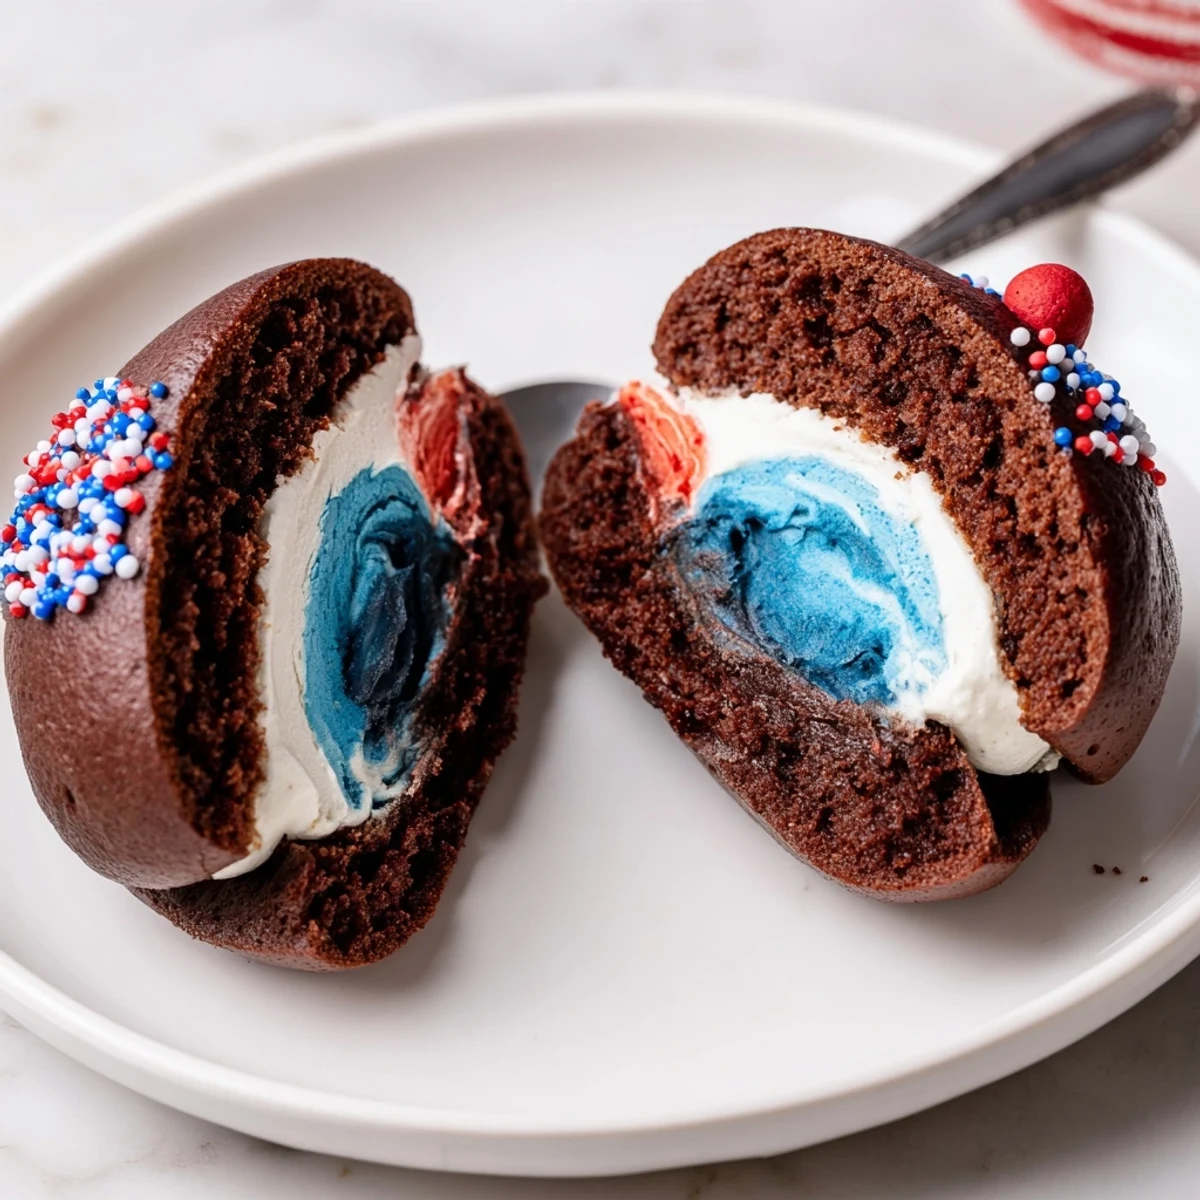
One year, I decided to surprise my friends with a platter of these on Memorial Day, and the look on their faces when they spotted the red, white, and blue filling was priceless. We ended up eating them on the porch while the summer air buzzed and patriotic sprinkles clung to our fingers—each bite was messy and perfect. They tasted even better for being shared. Sometimes, dessert really does steal the show.
Ingredients
- All-purpose flour: This forms the base of the whoopie pie and lends that subtle chewyness; sift it first for the softest crumb.
- Unsweetened cocoa powder: The key to that deep color and satisfying chocolate depth—choose one that smells richly fragrant.
- Baking soda: Your secret to a light, airy rise in each mini cake, just be sure it's fresh for the best results.
- Salt: It wakes up all the flavors, just a pinch can transform the chocolate.
- Granulated sugar: For sweetness and the golden crust around the edges; don’t skimp, but also don’t pack it.
- Unsalted butter: Softened butter makes both the batter and the filling irresistibly creamy—don’t rush the creaming step.
- Egg: Adds richness and binds everything so you get that perfect cake texture.
- Buttermilk: For tang and unparalleled tenderness, room temperature buttermilk is magic in this recipe.
- Vanilla extract: Real vanilla brings warmth to both cake and filling; measure generously for the best aroma.
- Powdered sugar: Silky smooth sweetness for the filling—sift before using to avoid any surprising lumps.
- Marshmallow creme: The secret to fluffy, nostalgic filling; it melts beautifully with the butter.
- Red and blue food coloring: Gel works wonders for vivid color—just a dab gives you stunning artistry.
- Patriotic sprinkles: Don’t think twice—go overboard for that festive finish, because more really is more here.
Instructions
- Get ready:
- Fire up the oven to 350°F and line two baking sheets with parchment—watch the corners curl as the heat hits the air.
- Mix dry ingredients:
- In a medium bowl, whisk together flour, cocoa powder, baking soda, and salt until they look like fine chocolate sand.
- Cream butter and sugar:
- Beat together the butter and sugar in a large bowl; it should look pale and fluffy before you add the egg.
- Combine wet and dry:
- Pour in buttermilk and vanilla and blend, then slowly add dry ingredients while mixing until the batter is thick, silky, and tempting to taste-test.
- Shape cakes:
- Drop 24 neat scoops of batter onto the lined trays—leave space for them to puff up as they bake.
- Bake to perfection:
- Bake for 10 to 12 minutes, watching for them to set and spring back under the lightest fingertip, then let them cool completely so the filling doesn’t melt away.
- Make the filling:
- Blend butter until creamy, then add powdered sugar, marshmallow creme, vanilla, and a pinch of salt—beat it until it’s almost cloudlike.
- Color the filling:
- Spoon the marshmallow mixture into three bowls—add red to one, blue to another, and let one stay classic white for the full patriotic effect.
- Assemble the pies:
- Pipe or spoon filling onto half the cakes, then gently press the other halves on top to make plump, perfect sandwiches.
- Decorate and dazzle:
- Roll the exposed filling in sprinkles or pipe extra color on top—your hands might get messy, but that’s half the fun.
 Pin it
 The first time I served these at a July block party, the tray disappeared faster than I could blink, and a neighbor I barely knew asked me for the recipe. It turns out whoopie pies are the perfect conversation starter. Suddenly, I wasn’t just the new face—I was the person with the best dessert on the block.
Make-Ahead Magic
If you want less hurry on party day, bake the cakes the night before—just wrap them snug so they stay soft. Filling and assembly are quick enough to tackle right before serving, keeping everything fresh and show-stopping. Chilling the assembled pies also helps set the filling beautifully.
Colorful Variations and Fun
There’s an unspoken competition for the brightest whoopie pie at our family table, so don’t be shy with tinting your filling. Experimenting with different sprinkle shapes or even a swirl of different colors in each pie keeps things playful. Edible glitter is always the wild card—sparkly, silly, and sure to make kids grin.
Serving, Storing, and Sharing
Transporting these is a little messy, but stacking them with parchment between each one saves the day and prevents sticking. They’ll keep well in the fridge for a couple days, but rarely last that long in my house. For a party, bring them chilled so the filling stays perky.
- Let the pies sit out for ten minutes before serving for extra-soft cakes.
- Freeze unfilled cakes to have a shortcut for future batches.
- A quick sprinkle touch-up just before serving makes them shimmer again.
 Pin it
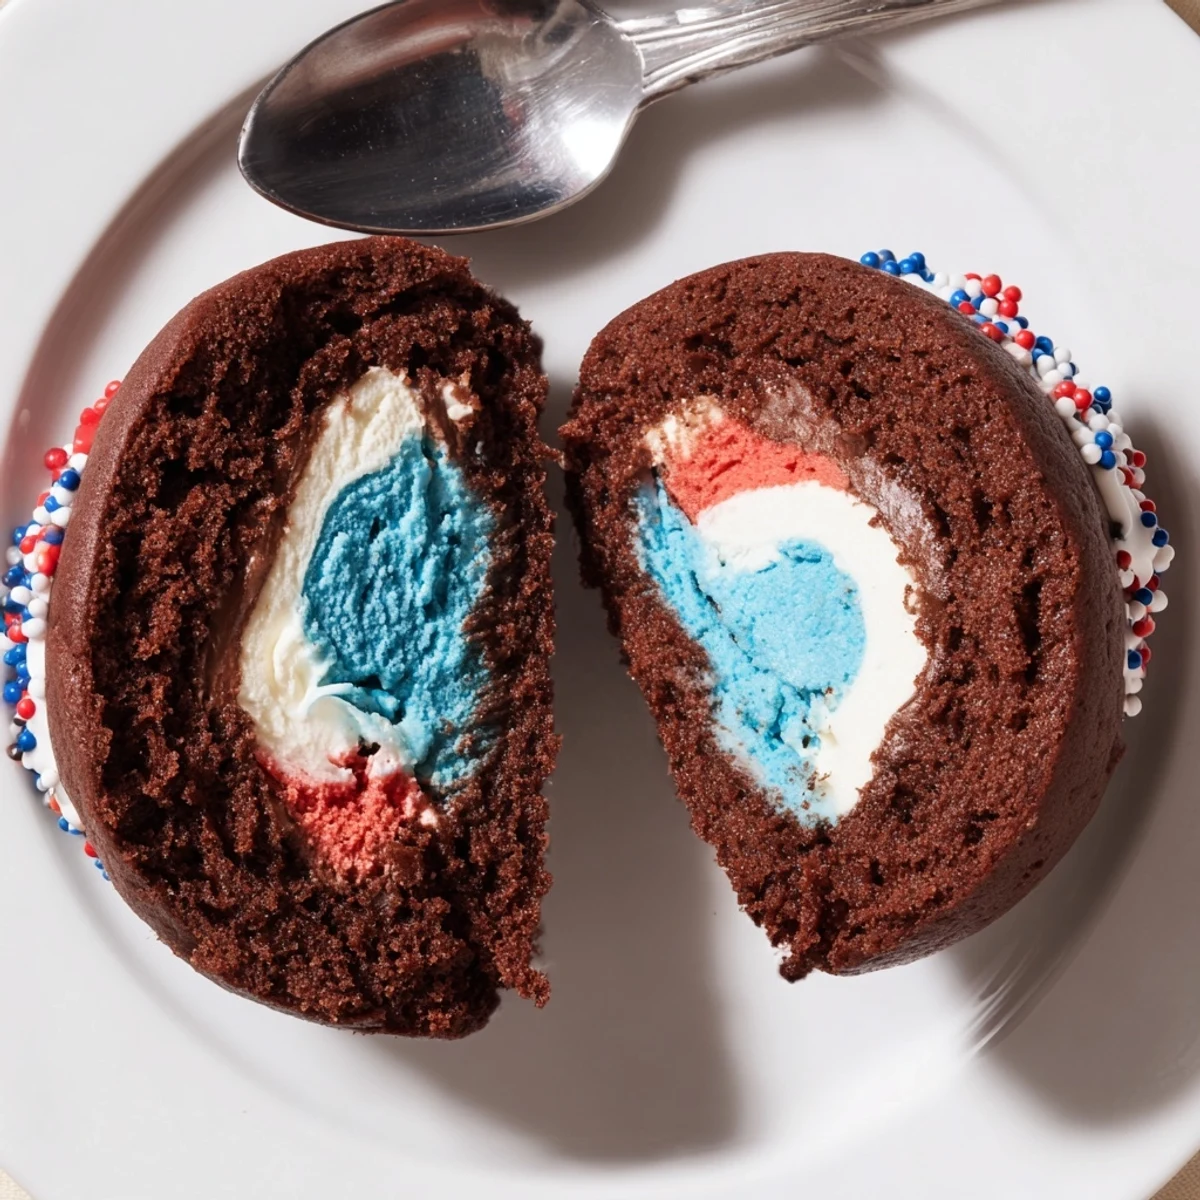
 However you serve these, expect a little red and blue on your hands and plenty of smiles around the table. Here’s to festive desserts that turn any summer night into a memory.
Recipe Q&A
- → How do I keep the cakes soft and cakey?
-
Don’t overmix the batter; combine wet and dry ingredients until just smooth. Bake until cakes spring back when touched, about 10–12 minutes, then cool completely to set their texture.
- → What’s the best way to get vibrant red and blue hues?
-
Use concentrated gel or paste food coloring and add it sparingly until you reach the desired shade. Gel gives brighter color without thinning the filling.
- → Can I swap the marshmallow creme filling?
-
Yes. You can replace marshmallow creme with stabilized whipped buttercream or a cooked marshmallow base; adjust powdered sugar to achieve pipeable consistency.
- → How should assembled whoopie sandwiches be stored?
-
Store in an airtight container in the refrigerator for up to 3 days. For easier handling and cleaner slices, chill assembled sandwiches for 30 minutes before serving.
- → Any tips for making a gluten-free version?
-
Use a 1:1 gluten-free flour blend that contains xanthan gum or add a binding agent. Watch bake time closely as gluten-free batters can brown faster.
- → How can I decorate for extra flair?
-
Pipe a decorative rosette on top, dust with extra cocoa, or press the sandwich edges into patriotic sprinkles. For neater piping, chill the filling slightly before shaping.
