
 Pin it
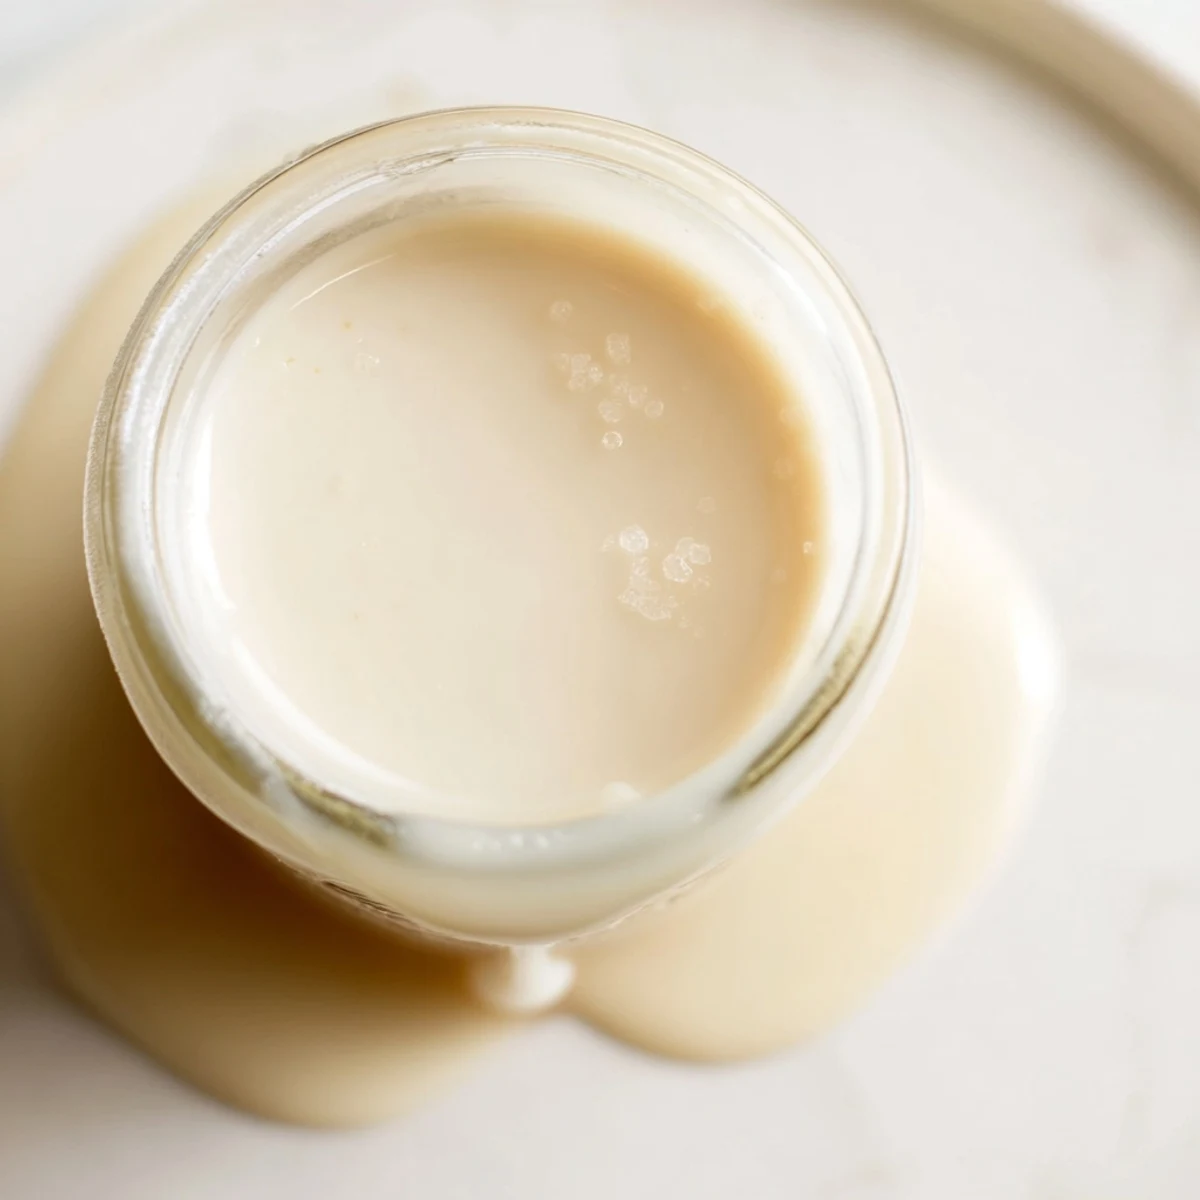
 This condensed coconut milk is a silky, sweet dairy-free alternative made by gently simmering full-fat coconut milk with sugar until thick and golden.
Ready in under 45 minutes with just four pantry staples, it works beautifully in vegan desserts, iced coffee, drizzled over pancakes, or anywhere you'd use traditional sweetened condensed milk.
It stores in the fridge for up to a week and thickens further as it cools, yielding roughly one cup of luscious, pourable sweetness.
My kitchen smelled like a tropical candy shop the afternoon I figured out you could reduce coconut milk and sugar into something indistinguishable from the canned condensed milk I grew up drizzling over strawberry ice cream. The whole process takes under an hour and uses four ingredients you probably already have. I have not bought a tin of conventional condensed milk since. This version is velvety, deeply coconutty, and completely dairy free.
Friends with dairy allergies routinely text me asking for this recipe after one taste of the fudge I bring to holiday parties. One friend now makes a double batch every Sunday just to stir into her morning coffee, and she swears it changed her entire breakfast routine.
Ingredients
- Full fat coconut milk (one 400 ml can): Do not use light coconut milk because the reduced fat content means the final product will be thin and watery instead of luscious.
- Granulated sugar (one half cup, 100 g): White sugar gives a clean, classic sweetness, but coconut sugar creates a darker, caramel flavored result that is worth experimenting with.
- Salt (one pinch): A small pinch sharpens every flavor and keeps the sweetness from tasting flat.
- Vanilla extract (one half teaspoon, optional): Added off the heat so the delicate aroma does not cook away.
Instructions
- Combine everything in the pan:
- Pour the coconut milk and sugar into a medium saucepan, add the pinch of salt, and whisk until the mixture looks uniform. Take a moment to scrape the bottom of the pan so no sugar clings there.
- Simmer gently until dissolved:
- Set the pan over medium heat and bring it to a gentle simmer, stirring frequently with a whisk or spoon. You will notice the liquid turn glossy and slightly thickened once every grain of sugar has disappeared.
- Reduce slowly and patiently:
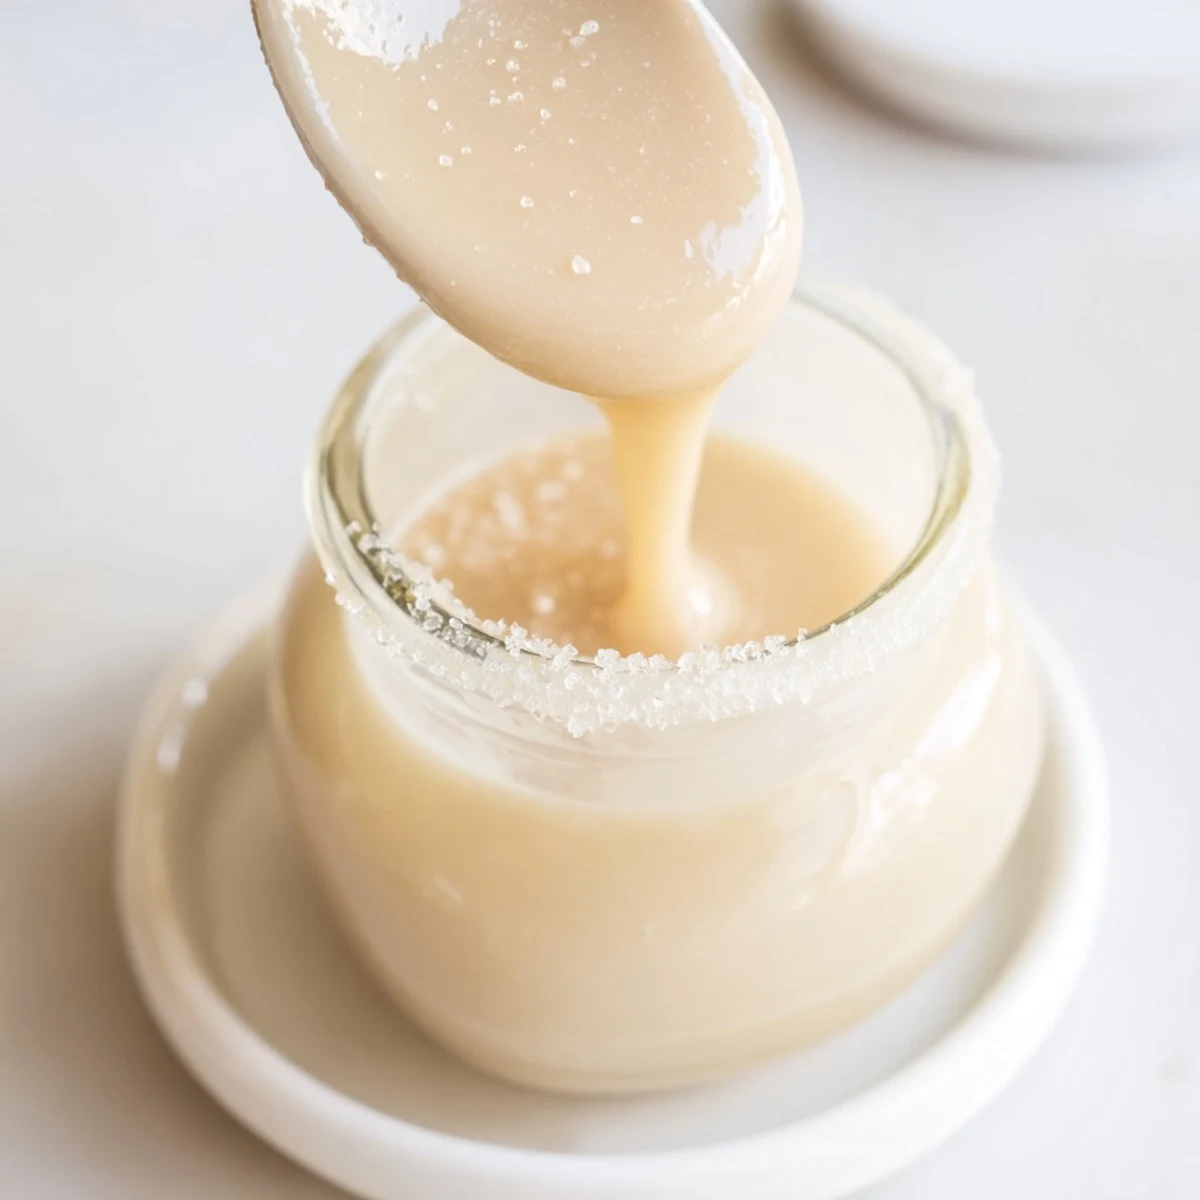
- Turn the heat to low and let the mixture bubble very softly for 35 to 40 minutes, stirring every few minutes so nothing catches on the bottom. The volume should reduce by roughly half and coat the back of a spoon like heavy cream.
- Finish with vanilla and cool:
- Remove the pan from the heat, stir in the vanilla extract if you are using it, and let everything sit until it reaches room temperature. The liquid will continue to thicken significantly as it cools, so do not panic if it looks a bit thin at first.
 Pin it
 Pouring this warm, golden syrup over a bowl of fresh mango chunks one summer evening turned an ordinary weeknight into something that felt like a small celebration. That is the real magic of having a jar of it sitting in your fridge.
Storing Your Batch
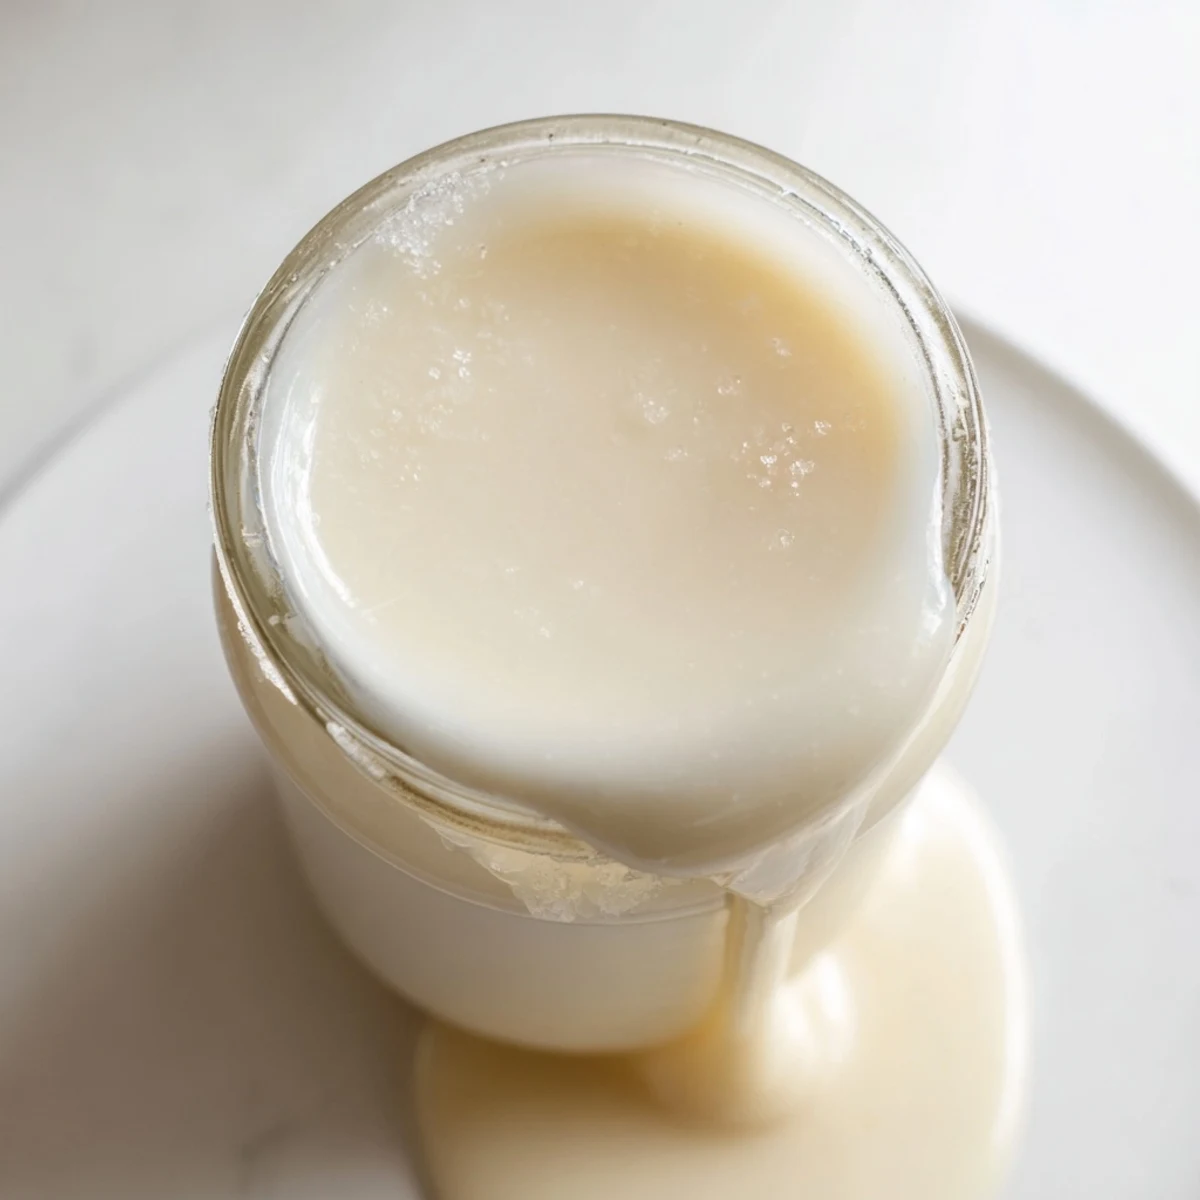
Transfer the cooled condensed coconut milk into a clean, airtight glass jar and keep it in the refrigerator for up to one week. Glass is preferable to plastic because it does not absorb flavors and lets you see the beautiful creamy layer at a glance.
Substituting in Baking
You can use this exactly as you would regular sweetened condensed milk in pies, bars, cakes, and no churn ice creams. Because it is slightly less viscous than the canned dairy version, you may need to chill your dessert an extra 30 minutes before slicing to help it set perfectly.
Quick Answers
Most questions about this recipe come down to timing and texture, so here are the three things people ask me most often.
- If your mixture still seems runny after 40 minutes, keep simmering on low for another five to ten minutes and remember it thickens more once cold.
- Coconut sugar works beautifully in place of white sugar and adds a richer, deeper flavor reminiscent of dulce de leche.
- Always stir before using if it has been sitting in the fridge, because some separation is completely normal.
 Pin it
 Once you make condensed coconut milk from scratch, the canned version will feel like a compromise you no longer need to accept. Keep a jar in your fridge and your favorite desserts will thank you.
Recipe Q&A
- → Can I use light coconut milk instead of full-fat?
-
Full-fat coconut milk is strongly recommended for the best texture and richness. Light coconut milk has less fat content, which means the final result will be thinner and less creamy. If you only have light coconut milk on hand, you may need to simmer it longer to achieve a similar consistency.
- → Why did my condensed coconut milk separate after refrigeration?
-
Separation is completely natural due to the coconut fat solidifying in cold temperatures. Simply stir it vigorously or let the container sit in a bowl of warm water for a few minutes and stir until smooth and recombined.
- → Can I use a different sweetener besides granulated sugar?
-
Yes, you can substitute with coconut sugar for a deeper caramel-like flavor and a slightly darker color. Keep in mind that liquid sweeteners like maple syrup or agave may alter the final texture and increase the required simmering time.
- → How long does homemade condensed coconut milk last?
-
Stored in an airtight container in the refrigerator, it will keep well for up to one week. Always use a clean spoon when scooping to avoid introducing bacteria that could shorten its shelf life.
- → What can I make with condensed coconut milk?
-
It works as a direct substitute for sweetened condensed milk in almost any application. Drizzle it over oatmeal, pancakes, or fresh fruit. Use it in no-bake desserts, fudge, pies, Vietnamese iced coffee, or as a sweet creamer for hot and cold beverages.
- → How do I know when it has thickened enough?
-
The mixture should reduce by roughly half and coat the back of a spoon. It will look glossy and slightly syrupy. Remember that it continues to thicken considerably as it cools, so remove it from heat when it's still a bit thinner than your desired final consistency.