 Pin it
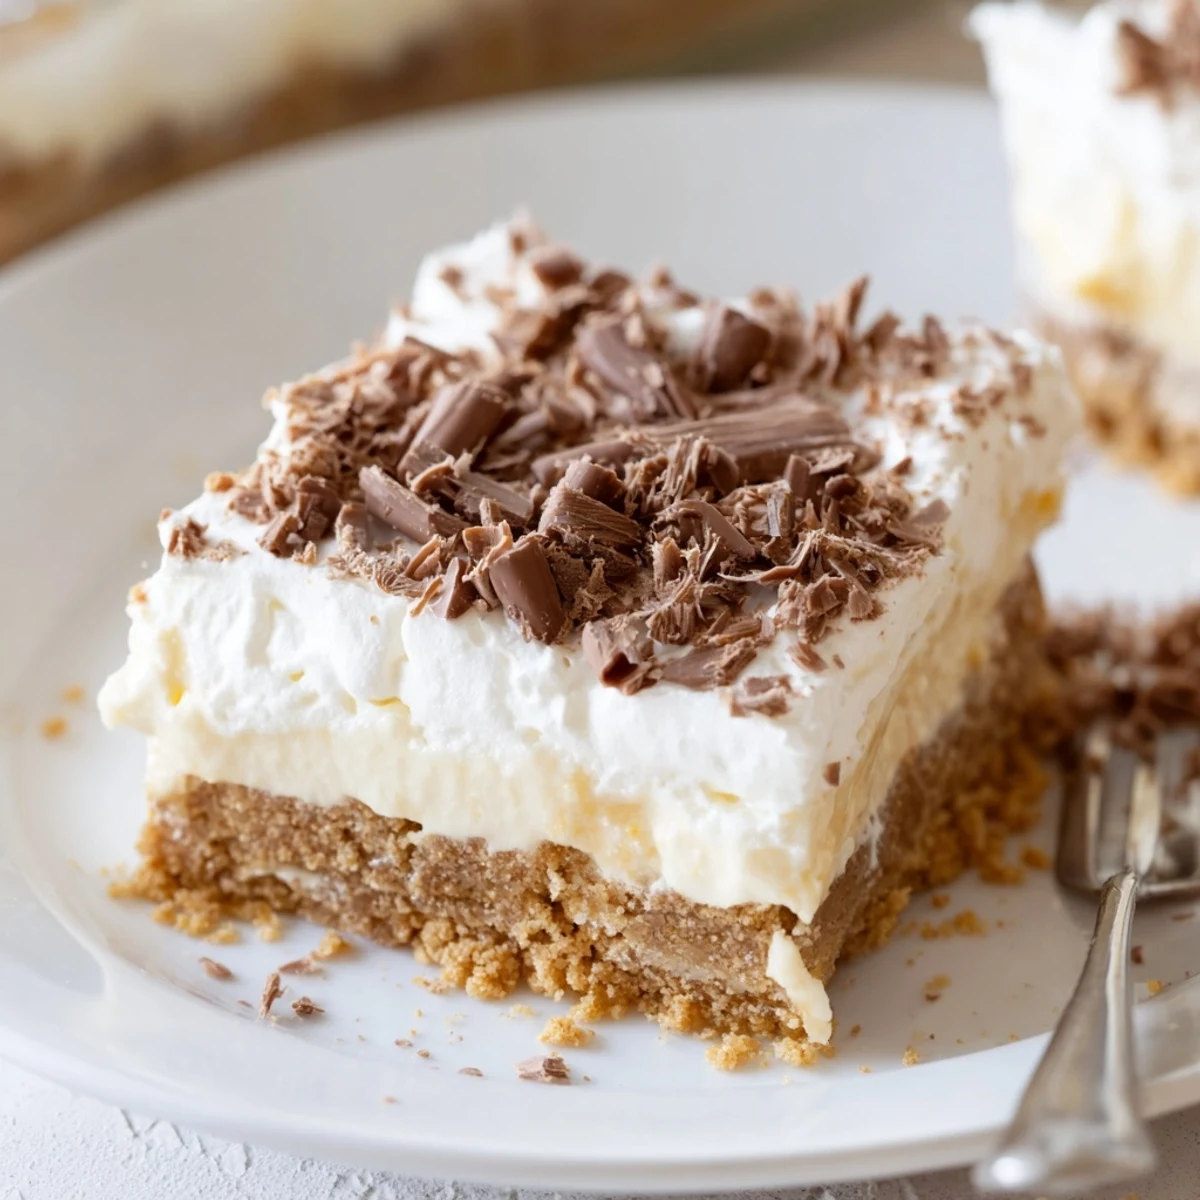
 Combine crushed graham crackers with melted butter and press into a 23x23 cm dish to form a firm base. Whip cold heavy cream with powdered sugar and vanilla to stiff peaks, and whisk instant vanilla pudding with cold milk until thickened. Layer half the whipped cream, spread the pudding, then finish with the remaining cream for distinct, creamy strata.
Smooth the surface, scatter chocolate shavings or dust with cocoa if desired, cover and chill at least 2 hours to set. Slice chilled portions and serve; add fresh berries or sliced banana between layers for brightness and extra texture.
The first time I made this no-bake layered dessert, the kitchen was alive with the hum of laughter and the clatter of mixing bowls. There was a steady drizzle outside, which made the thought of turning on the oven unappealing, so this dessert was the perfect answer. As layers came together, the sweet scent of vanilla mingled with a hint of chocolate, drawing my family closer to the countertop. By the time it was ready to chill, every surface seemed dusted with cookie crumbs, and I knew I was onto something special.
One afternoon, my friend dropped by unexpectedly and I whipped up this dessert using whatever cookies and pudding we had stashed away. Sharing stories while scraping the bowl clean of whipped cream just felt effortless, and somehow the layers tasted even better for it. It's become my go-to when company pops in, partly because it's practically impossible to mess up. Even my little cousin loved pressing the crumb base into the pan, her tiny fists leaving perfect little indents that we smoothed out together.
Ingredients
- Graham crackers or digestive biscuits: These crumbs form a slightly crunchy and buttery foundation—don't overcrush for best texture.
- Unsalted butter: Melt it gently and mix thoroughly with crumbs so your base sticks together perfectly.
- Heavy whipping cream: Cold cream gives unbeatable fluffiness—chill your bowl for an easier whip.
- Powdered sugar: Dissolves smoothly without grittiness, making the cream sweet but not too sweet.
- Vanilla extract: A splash rounds out the dairy richness and deepens the dessert flavor.
- Instant vanilla pudding mix: Saves time while offering a nostalgic, custardy layer—pick your favorite brand.
- Cold whole milk: Necessary for thickening the pudding; using cold milk helps it set fast.
- Chocolate shavings or cocoa powder: A final flourish that adds contrast and makes the layers extra-inviting.
Instructions
- Make the crumb base:
- Combine crushed graham crackers with melted butter in a bowl. Press the mixture firmly into the bottom of a 23x23 cm dish—it should smell toasty and feel slightly damp.
- Whip the cream:
- Use an electric mixer or a strong arm to beat the cold cream with powdered sugar and vanilla extract until stiff peaks stand tall. Listen for the thick, soft swoosh as the cream transforms.
- Prepare the pudding:
- In another bowl, whisk together the instant vanilla pudding mix and cold whole milk for a couple of minutes. Let it stand for 5 minutes—you’ll notice it thickening as you tidy up.
- Spread the first cream layer:
- With a spatula, gently cover the crumb base with half of the whipped cream, smoothing to the edges and stealing a taste if you must.
- Add the pudding layer:
- Spoon all of the pudding over the cream, then spread it out so no pockets are left untouched.
- Finish with more cream:
- Top with the rest of the whipped cream, swirling gently to create inviting, soft peaks.
- Decorate:
- Sprinkle chocolate shavings or dust with cocoa powder—do this just before chilling to keep colors bright.
- Chill and set:
- Cover tightly with plastic wrap and refrigerate for at least 2 hours. This step is key for letting the flavors meld and the layers firm up.
- Slice and serve:
- Cut generous squares and serve cold, watching the layers reveal themselves as you lift each piece.
 Pin it
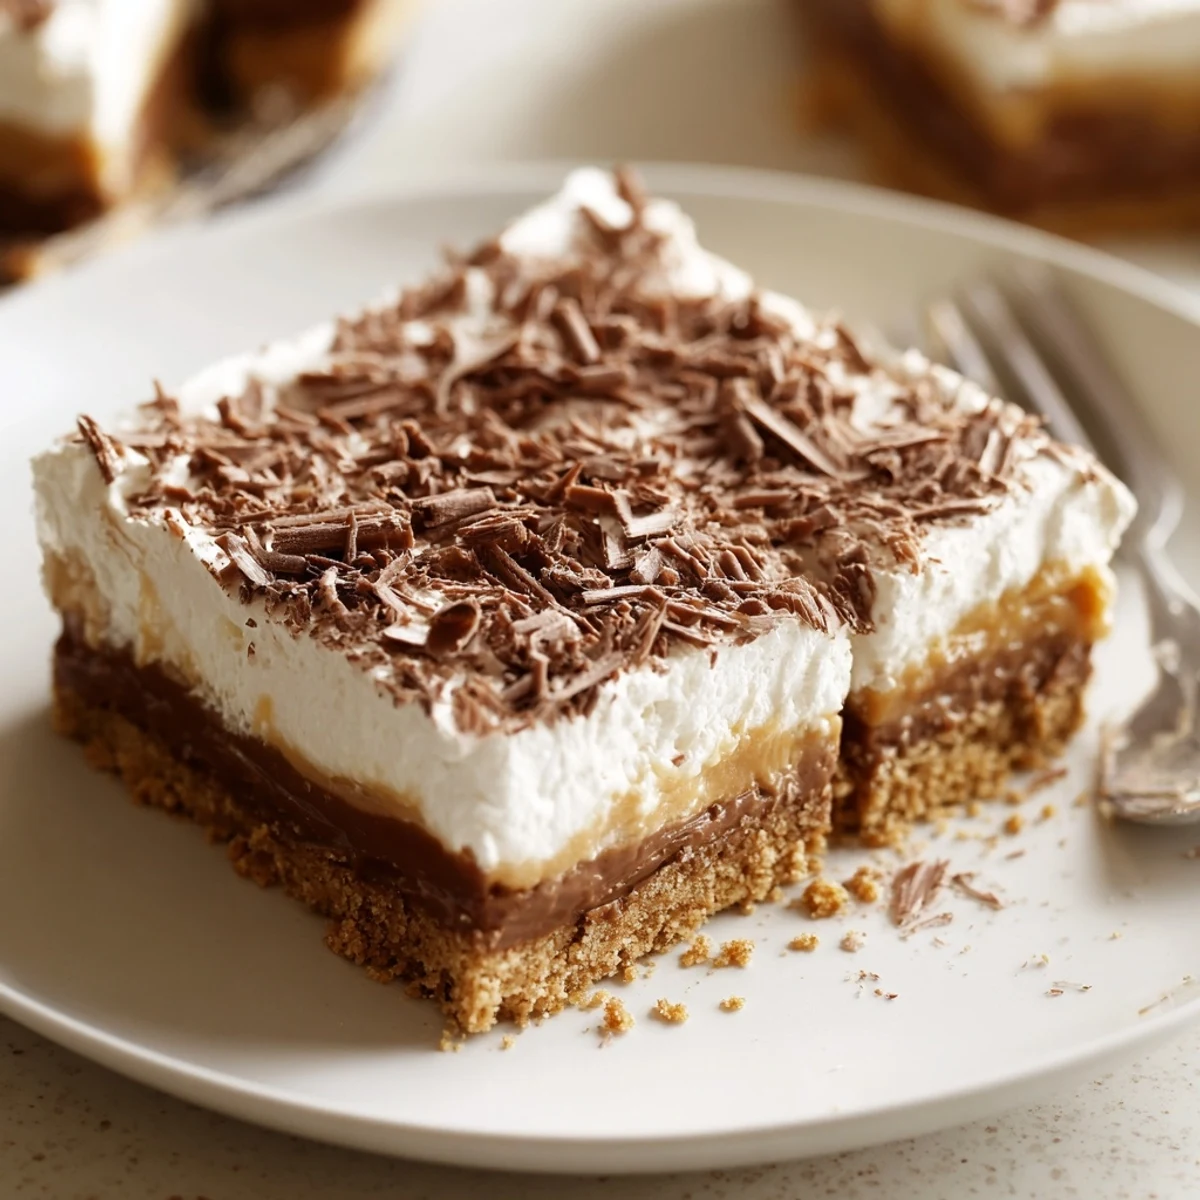
 I remember setting this dessert down on the table and hearing an audible pause as everyone admired the stripes of cream and pudding. Somehow, a simple, chilled dish became the centerpiece of the evening, sparking laughter and an impromptu round of compliments for the chef.
Customizing Your Layers
One of the joys of this recipe is riffing on the basics with whatever's in the pantry. Chocolate cookies or flavored puddings add a twist, and I've even layered in sliced strawberries or bananas for a pop of freshness. Swapping out toppings lets you dial up the decadence or lighten things up for summer. Just remember, every variation brings its own personality to the party.
Serving and Pairing Ideas
This no-bake wonder pairs beautifully with a cup of strong coffee or a splash of dessert wine. I've seen it disappear quickly at both family dinners and lazy weekend lunches. For an elegant finish, plate slices on chilled plates and dust with a touch more cocoa right before serving. Leftovers, if you have any, tend to vanish straight from the tray the next morning.
Troubleshooting (Because We All Have Mishaps)
If your base feels crumbly or your cream takes too long to whip, you're not alone—I've had my share of runny layers and messy tops. The trick is not to panic, as most mistakes can be disguised with extra whipped cream or a little garnish. Holding back a little of the topping also gives you a quick fix for uneven slices.
- If subbing lighter cream, whip it thoroughly for stability.
- For cleaner cuts, run a knife under hot water and wipe between slices.
- Don't skip resting time; it truly transforms the final texture.
 Pin it
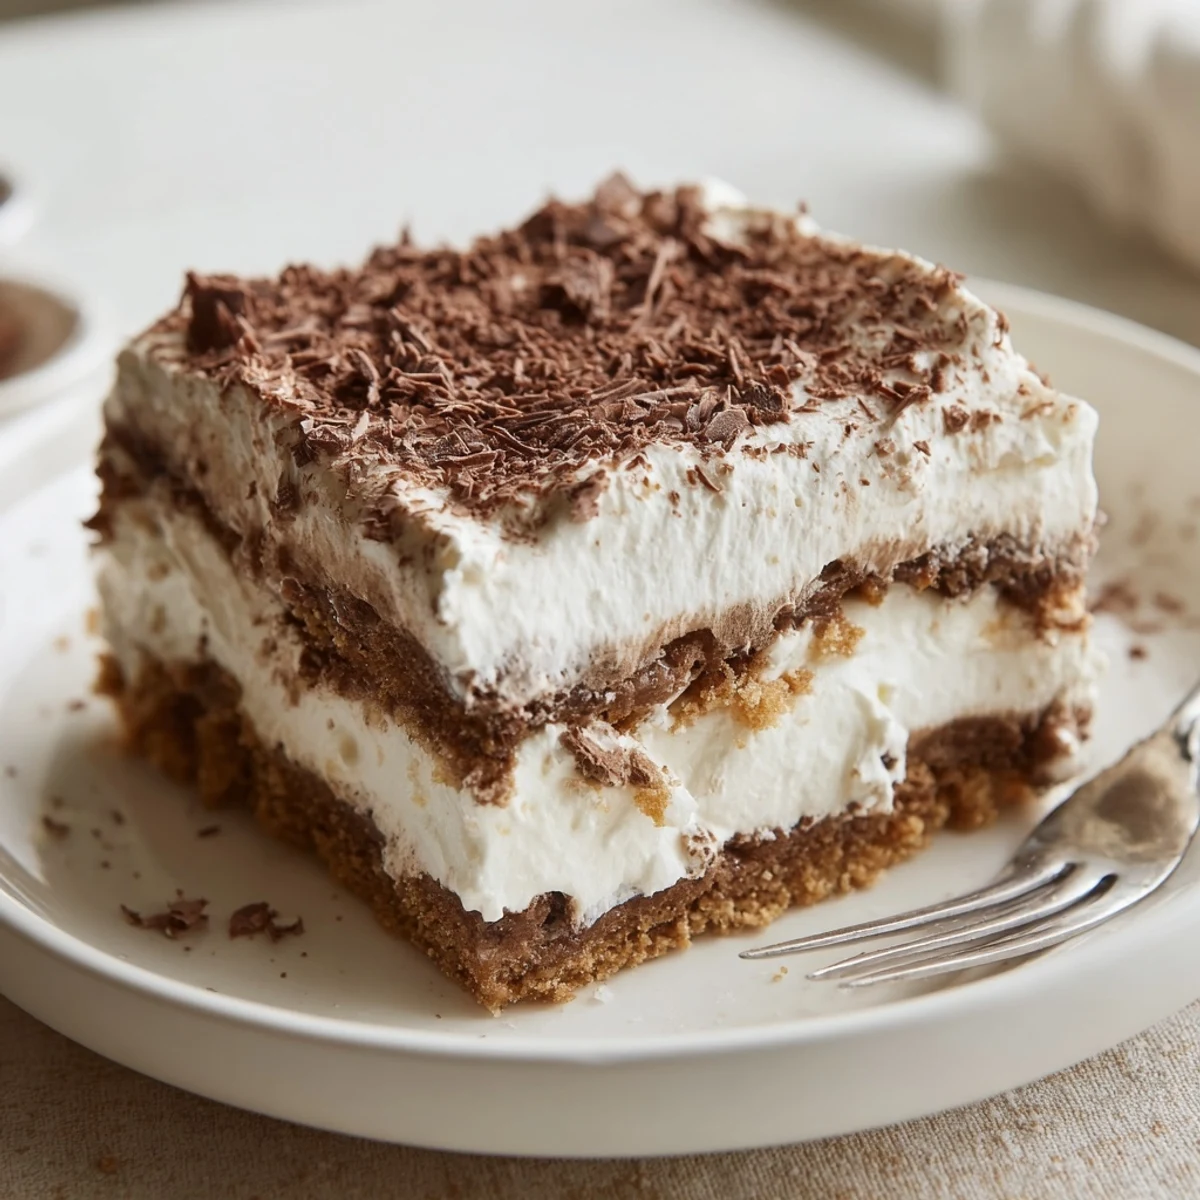
 Give this dessert a try the next time you need a low-fuss treat that brings a smile to every table. I hope it becomes a sweet staple in your kitchen, too.
Recipe Q&A
- → How firm should the base be?
-
Press the crushed cookies and melted butter firmly into the dish so the base holds when sliced. Chill briefly before adding wet layers to help maintain structure.
- → Can I use different cookies for the base?
-
Yes. Chocolate cookies give a richer contrast, while digestive or graham crackers keep the flavor light. Adjust butter slightly for very dry or oily crumbs to achieve a compact base.
- → What ensures the whipped cream stays stable?
-
Use cold heavy cream and chill bowls and beaters if possible. Whip to stiff peaks and fold gently when layering. Adding a small amount of powdered sugar helps stabilize the cream.
- → How long should it chill before serving?
-
Chill at least 2 hours to let layers set; overnight yields cleaner slices and firmer layers, especially if using softer puddings or extra fruits between layers.
- → Can I make substitutions for dairy?
-
Use full-fat plant-based cream and non-dairy milk plus a compatible instant pudding mix to keep similar texture, but chilling time may increase for best set.
- → Any tips for neat slicing and serving?
-
Run a sharp knife under hot water and dry before slicing to get clean edges. Chill until well set and wipe the knife between cuts for tidy portions.
