 Pin it
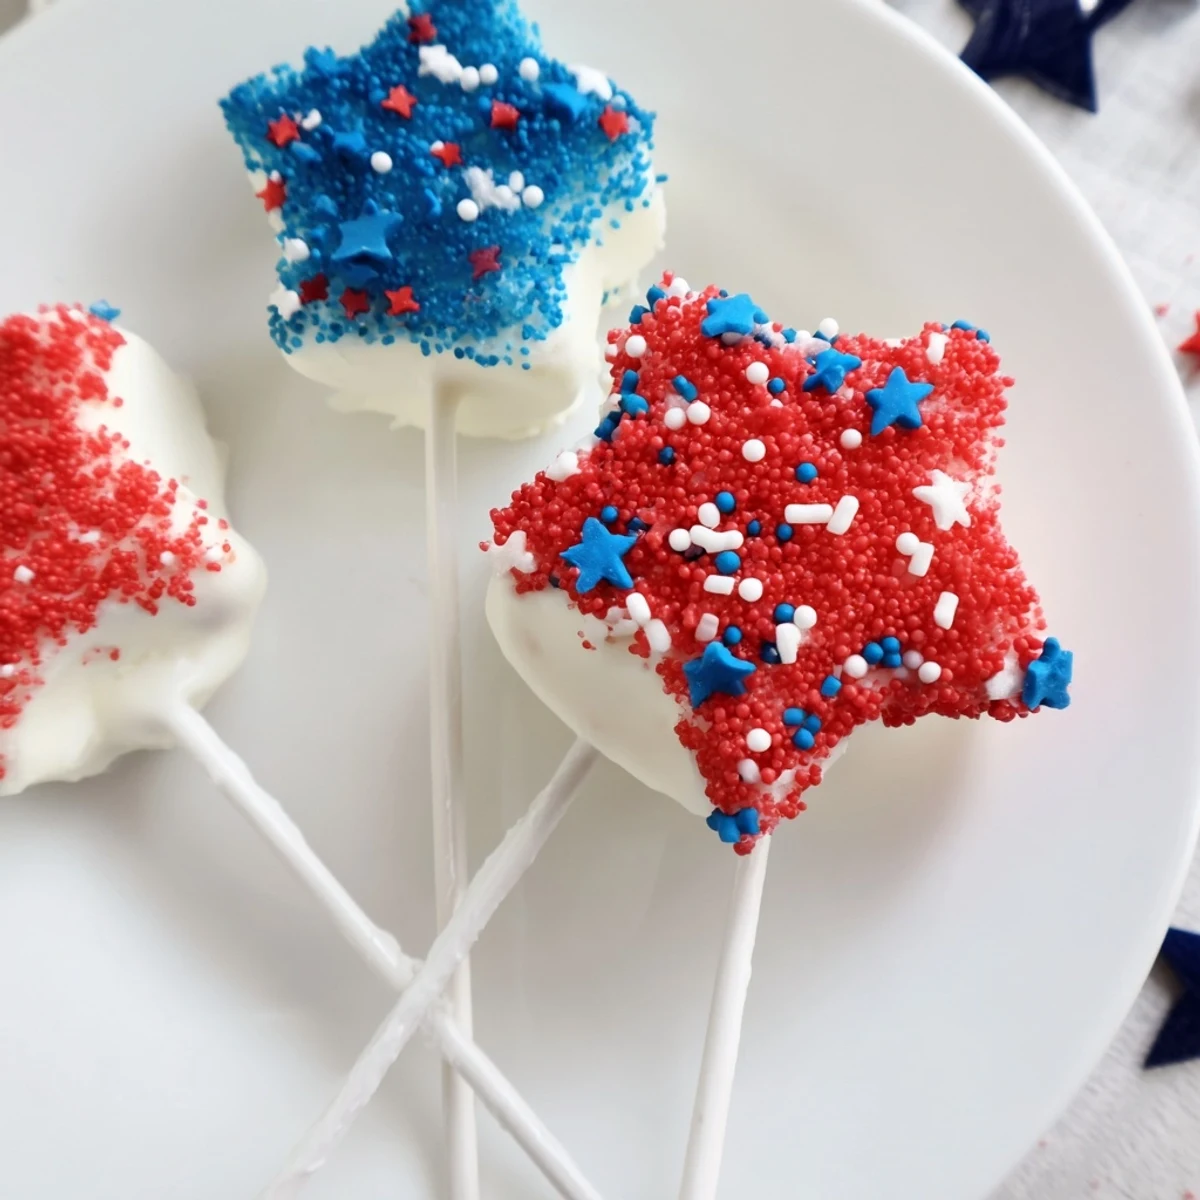
 Make patriotic star cheesecake pops by beating 225 g cream cheese with powdered sugar and vanilla, stirring in graham crumbs, spreading the blend and freezing until firm. Cut stars, insert lollipop sticks, refreeze, then dip in melted white chocolate tinted red and blue. Decorate with sprinkles and chill to set; stores refrigerated for up to four days.
Fireworks outside, and I’m hunched over parchment paper, fiddling with a star cookie cutter that insists on sticking — that’s the kind of chaos that makes these cheesecake pops memorable every Fourth of July. The kitchen always seems extra bright with bowls of melted chocolate spattered in streaks of red, white, and blue. Sometimes my stars end up a little lopsided, but those never last long once they hit the dessert table. It’s the mess and laughter that make these treats sparkle as much as their sprinkles.
There was one year when my niece took charge of the sprinkle jar and turned each pop into a modern art project — by the end, we had stripes, zigzags, and one ambitious 'flag.' Watching everyone choose their favorite ‘design’ at the picnic is still one of the sweetest sights I remember.
Ingredients
- Cream cheese (225 g or 8 oz, softened): The base of the cheesecake; leave it out an hour before so mixing is breezy.
- Powdered sugar (80 g or 2/3 cup): Sifts right in to make the filling irresistibly smooth.
- Vanilla extract (1 tsp): Just a splash wakes up the creamy flavors.
- Graham cracker crumbs (90 g or 1/2 cup): Gives body to the cheesecake and that familiar, nostalgic touch.
- White chocolate or candy melts (200 g or 7 oz): Perfect for a colorful, snappy shell; candy melts set faster for less waiting.
- Red and blue food coloring: Get gel dyes for bright, vivid bursts that won’t water down the chocolate.
- Red, white, and blue sprinkles: Technicolor topping that makes the pops parade-ready.
- Lollipop sticks (16): A little trick is to twist as you push so the stick slides in without cracking the star.
Instructions
- Mix the Cheesecake Base:
- Grab your mixer and blend the softened cream cheese with powdered sugar and vanilla until it’s fluffy and dreamy. The smell is already a party signal; scrape the bowl if needed for a silky result.
- Add Graham Crumbs:
- Stir in graham cracker crumbs until the mixture thickens and holds together, like a slightly sticky dough.
- Chill It Flat:
- Press the mix gently onto a parchment-lined baking sheet, smoothing it out to a half-inch thickness, then pop it in the freezer for an hour so it firms up for shaping.
- Cut Star Shapes:
- Work quickly with a star cutter (rinse it in warm water between uses) and line up your cheesecake stars on a clean tray.
- Add the Sticks:
- Carefully insert a lollipop stick into each star — I find a slight twist helps keep things intact — then set them back in the freezer for another 30 minutes.
- Melt and Color Chocolate:
- Melt white chocolate or candy melts until smooth, divide among bowls, and tint with a drop or two of coloring for red, blue, and pure white dip options.
- Dip and Decorate:
- Dip each cheesecake star into your colorful chocolate, letting excess drip before giving it a shower of sprinkles while wet.
- Let Them Set:
- Arrange on fresh parchment and let pops dry at room temperature or speed things up in the fridge until the shells are firm to the touch.
 Pin it
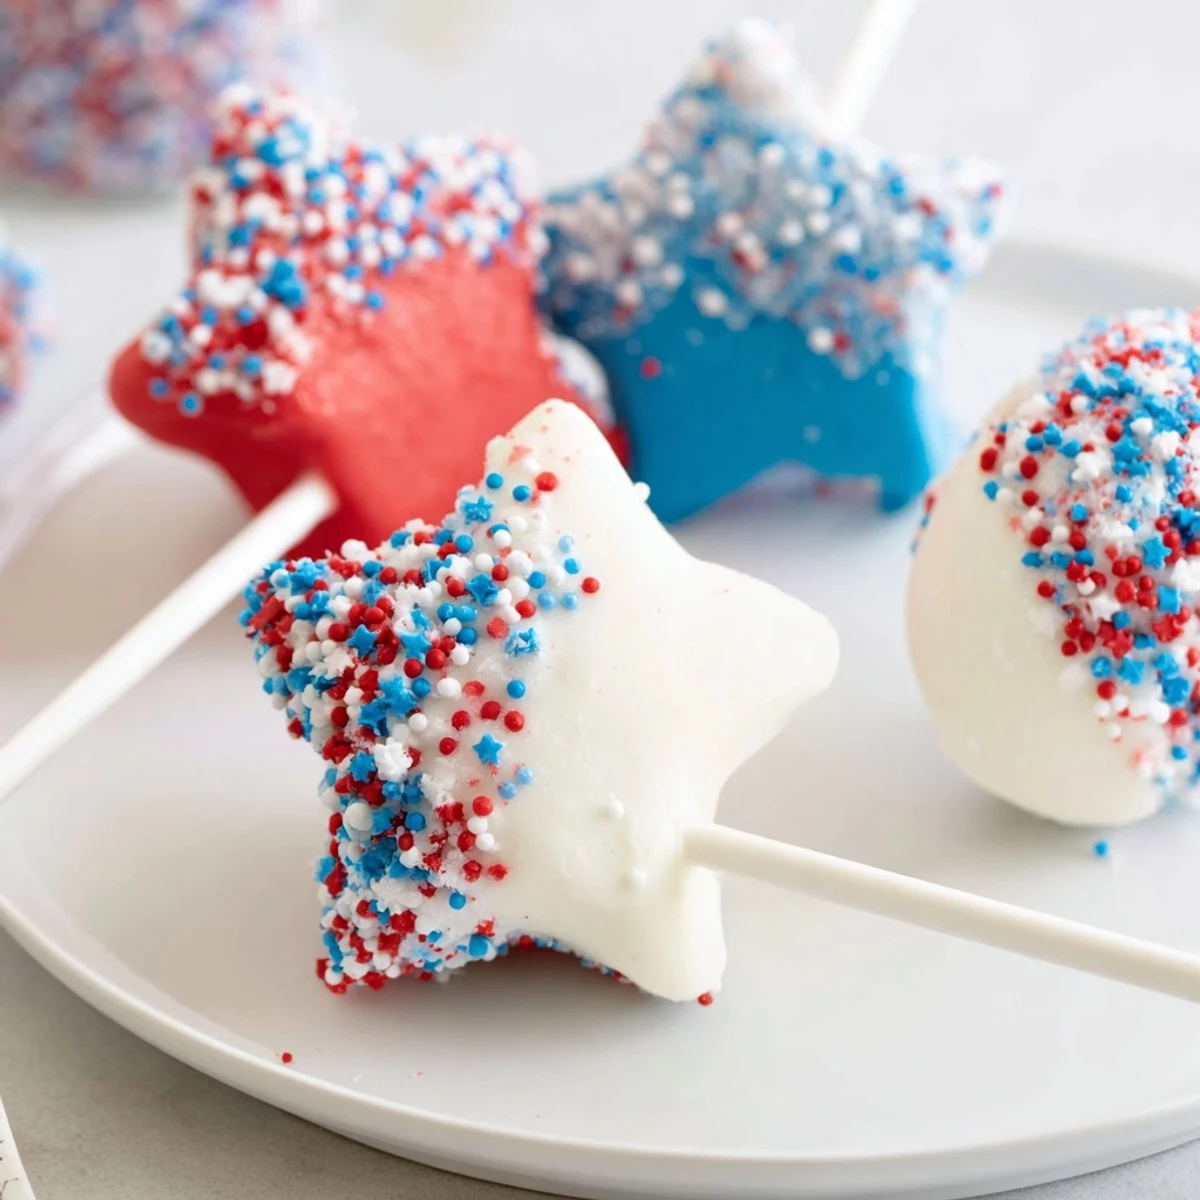
 The first time I served these, my cousin bit into one with a cartoon-worthy crunch and declared, ‘This is what fireworks taste like!’ That’s when I realized dessert can be its own little celebration.
Getting That Perfect Star Shape
Star cookie cutters can be tricky if the cheesecake softens up; I learned to keep a bowl of hot water nearby to rinse and dry the cutter every couple of pops. It keeps the edges sharp and helps the stars release cleanly, so your cheesecake stays beautiful.
Working With Melted Chocolate
Patience is your friend with candy melts or chocolate; if you rush, you’ll get streaks or seized chocolate. If it thickens too much as you work, a half-teaspoon of coconut oil stirred in brings it back to dipping perfection.
Shortcuts That Save the Day
On a humid July afternoon, I’ve learned to rotate batches — keep half of the uncoated stars in the freezer while you dip the rest, so nothing gets too soft. If you’re pressed for time or want to involve kids, let them go wild with extra sprinkles for a no-fuss finish.
- Press the mixture as evenly as possible for uniform stars.
- Gel food colors make your dips super vibrant with just a drop.
- When in doubt, chill again before coating to keep the stars sturdy.
 Pin it
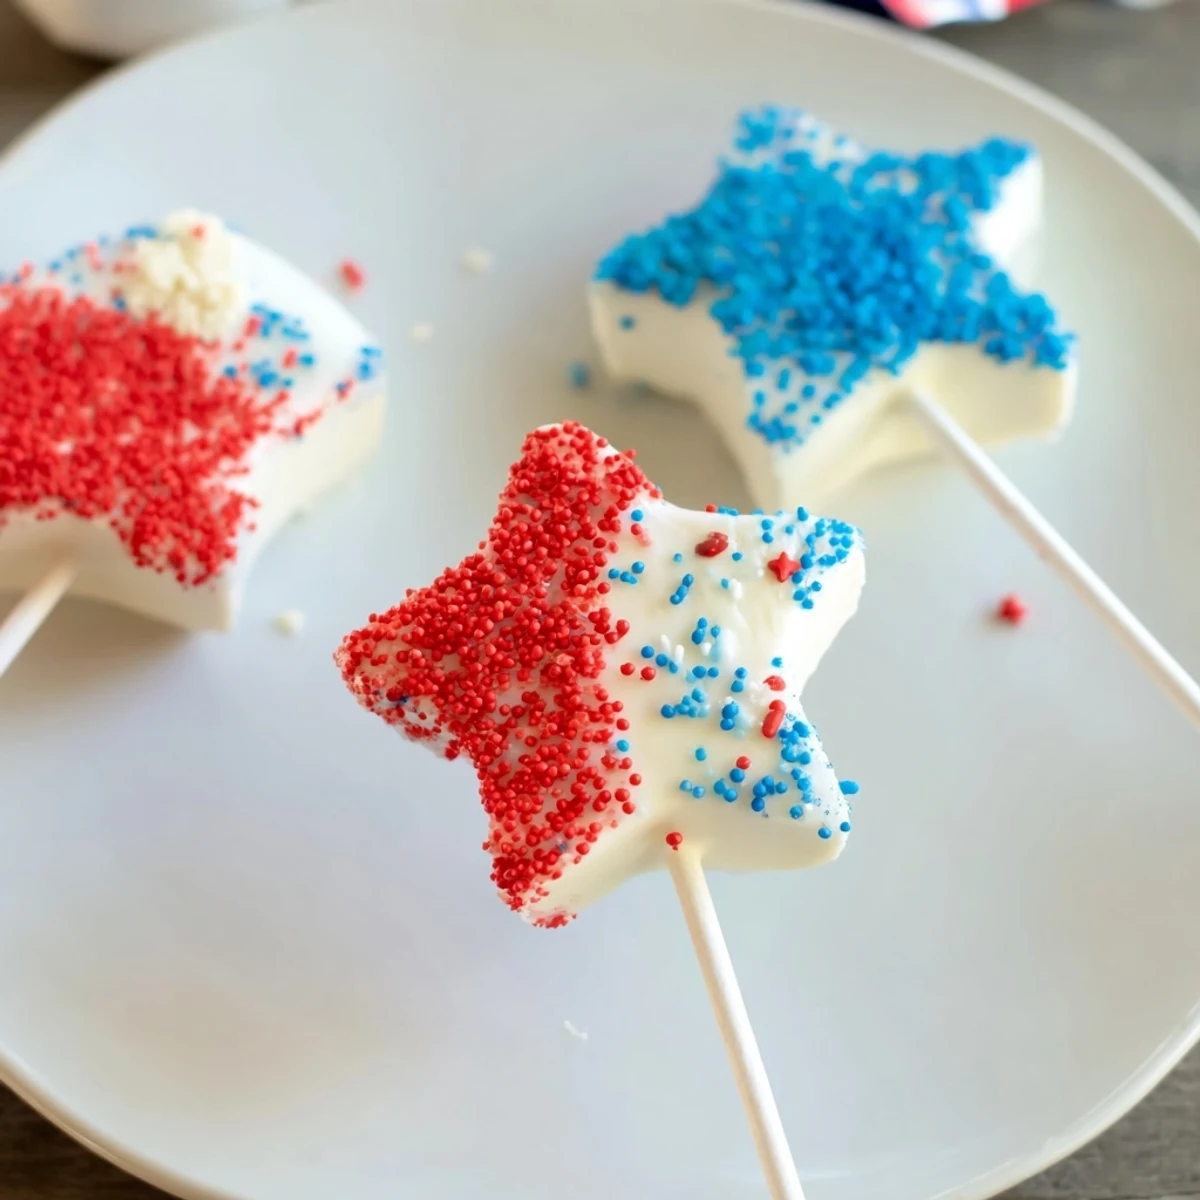
 However you decorate them, these star pops have a way of disappearing before the last sparkler is lit. Here’s to making edible fireworks an annual tradition on your dessert table.
Recipe Q&A
- → How long should the cheesecake layer be frozen before cutting?
-
Freeze the spread layer for at least 1 hour until firm, then cut stars and return them to the freezer for another 30 minutes after inserting sticks to ensure they hold shape during dipping.
- → Can I make these gluten-free?
-
Yes—substitute the graham cracker crumbs with a gluten-free biscuit or cookie crumb blend. Press and freeze the mixture the same way to maintain texture.
- → What’s the best way to color and temper the coating?
-
Use candy melts or white chocolate and divide into bowls for coloring. Heat gently in short bursts and stir until smooth. If using real chocolate, temper or add a small amount of neutral oil to keep the coating glossy and prevent cracking.
- → How do I avoid the coating cracking after dipping?
-
Make sure the cheesecake stars are very cold before dipping, let excess coating drip off, and set pops on parchment at room temperature briefly then chill. Avoid rapid temperature changes to reduce cracking.
- → Can I prepare these ahead of time for a party?
-
Yes. Prepare and coat the pops a day in advance and store them in a single layer in the refrigerator for up to four days. For longer holds, freeze briefly then thaw chilled before serving.
- → Any tips for decorating evenly?
-
Work in small batches: tint separate bowls of coating, dip immediately after coloring, and sprinkle while the coating is wet. Use a fork or dipping spoon to get a smooth finish and shake off excess before decorating.
