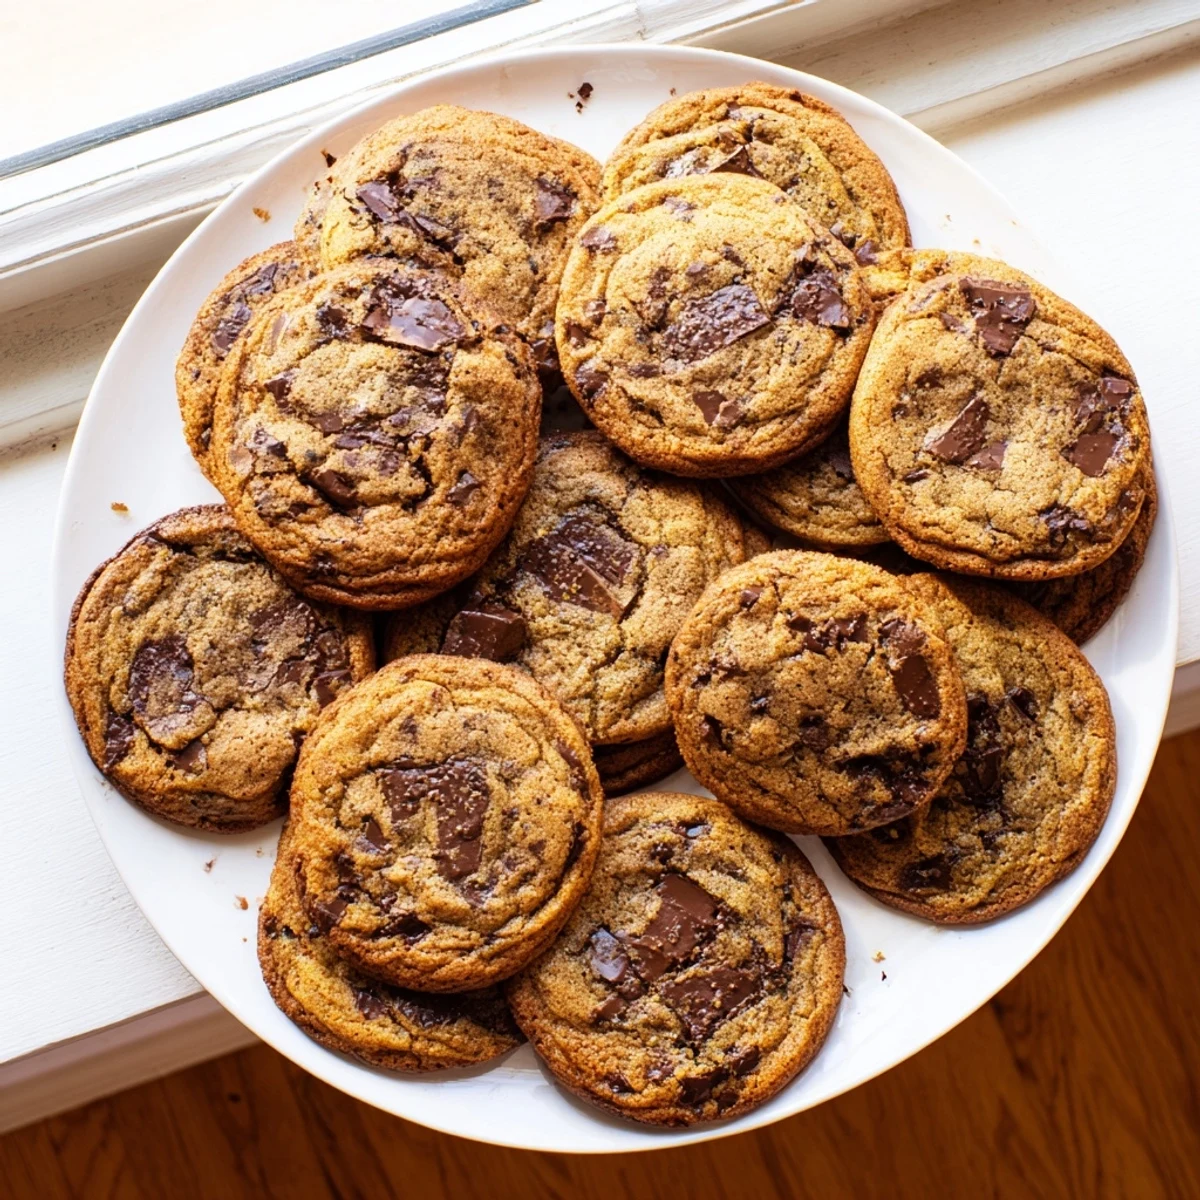
 Pin it
 These chocolate chip cookies feature browned butter that adds a deliciously nutty, caramel-like depth to the classic treat. The process involves melting butter until golden and fragrant, then combining it with brown and granulated sugars for the perfect texture.
Mix in eggs, vanilla, flour, baking soda, and sea salt before folding in generous amounts of semi-sweet chocolate chips. After a brief chill in the refrigerator, scoop onto baking sheets and bake until edges are golden and centers are just set. The result is a perfectly chewy cookie with crisp edges and rich, complex flavor.
For extra indulgence, sprinkle with flaky sea salt before baking. Store in an airtight container for up to five days.
The smell of brown butter bubbling away on my stove is one of those kitchen aromas that stops me in my tracks every single time. My roommate walked in last weekend and immediately asked what smelled so incredible—I had to explain that it was just butter cooking past its usual melting point into something golden and deeply fragrant. Now it is the only way I make chocolate chip cookies, and I honestly cannot go back to the regular version.
Last Christmas I made three batches for different gatherings and each plate disappeared faster than the one before. My dad usually skips dessert but ended up eating four of these while standing by the kitchen counter just shaking his head at how good they were. That is when I knew this recipe was not just a temporary experiment anymore.
Ingredients
- Unsalted butter: Browning transforms ordinary butter into something extraordinary with toasted milk solids that add incredible depth
- Light brown sugar: Packed tight for moisture and that molasses flavor which pairs perfectly with the nutty butter
- Granulated sugar: Helps create those crisp edges while balancing the sweetness
- Eggs: Room temperature eggs incorporate better and give structure to the dough
- Pure vanilla extract: Do not skimp here because the vanilla really shines against the brown butter background
- All purpose flour: The foundation that holds everything together without becoming too dense or cakey
- Baking soda: Just enough lift for spread and rise without making them puff up into balls
- Fine sea salt: Enhances all the flavors and cuts through the sweetness beautifully
- Semi sweet chocolate chips or chunks: Pick good quality chocolate since it is half the flavor profile here
Instructions
- Brown the butter like a pro:
- Melt butter in a medium saucepan over medium heat and keep stirring as it foams hisses and eventually turns golden brown with those delicious toasted milk solids at the bottom about five to seven minutes total. Pour it into a large bowl to cool for ten minutes because hot butter will scramble your eggs.
- Build the cookie dough base:
- Whisk both sugars into the warm brown butter until everything blends together smoothly then beat in eggs one at a time followed by vanilla until the mixture looks glossy and combined.
- Combine dry ingredients:
- In a separate bowl mix flour baking soda and salt together so they are evenly distributed before hitting the wet ingredients.
- Mix it all together:
- Gradually stir the dry mixture into the butter mixture just until you no longer see streaks of flour then fold in those chocolate chips until every scoop will have plenty of chocolate.
- Chill for better results:
- Cover the bowl and let it rest in the fridge for at least thirty minutes because cold dough bakes into thicker cookies with better texture though I admit I have baked it immediately when cravings hit.
- Bake to golden perfection:
- Scoop about two tablespoons per cookie onto lined baking sheets with two inches of space between each one then bake at 350°F for ten to twelve minutes until edges are golden and centers look slightly underbaked.
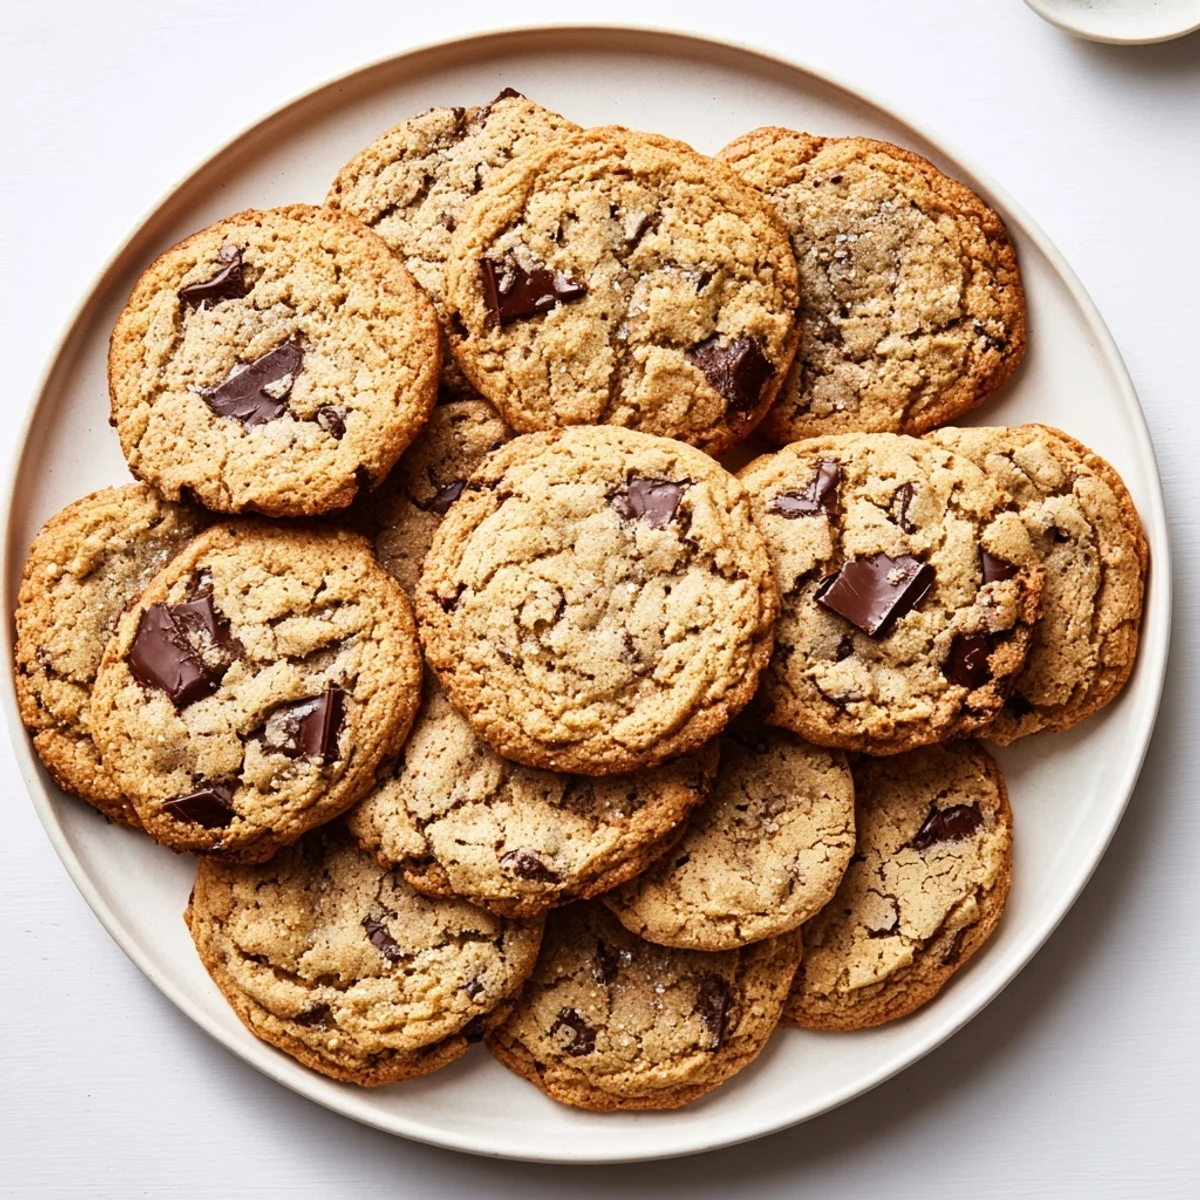 Pin it
 My sister called me at midnight last week asking for the recipe because her husband kept mentioning the cookies she tried at my house months ago. There is something deeply satisfying about having a recipe that people genuinely remember and request.
Getting The Texture Right
The secret to chewy cookies with crisp edges is pulling them from the oven when centers still look slightly soft. They continue cooking on the hot pan and set up perfectly during those five minutes of cooling time.
Chocolate Choices
Semi sweet chips are classic but chopped dark chocolate creates those gorgeous puddles and gooey pockets everyone loves. Sometimes I mix both for variety in every single bite.
Make Ahead Strategy
Scoop the entire batch of dough onto a baking sheet freeze until solid then transfer to a bag for fresh baked cookies whenever the mood strikes. They go straight from freezer to oven with just an extra minute or two of baking time.
- Let frozen dough sit on the counter while the oven preheats for even baking
- Press a few extra chocolate chunks onto the tops before baking for that bakery look
- Always use parchment paper to prevent sticking and make cleanup effortless
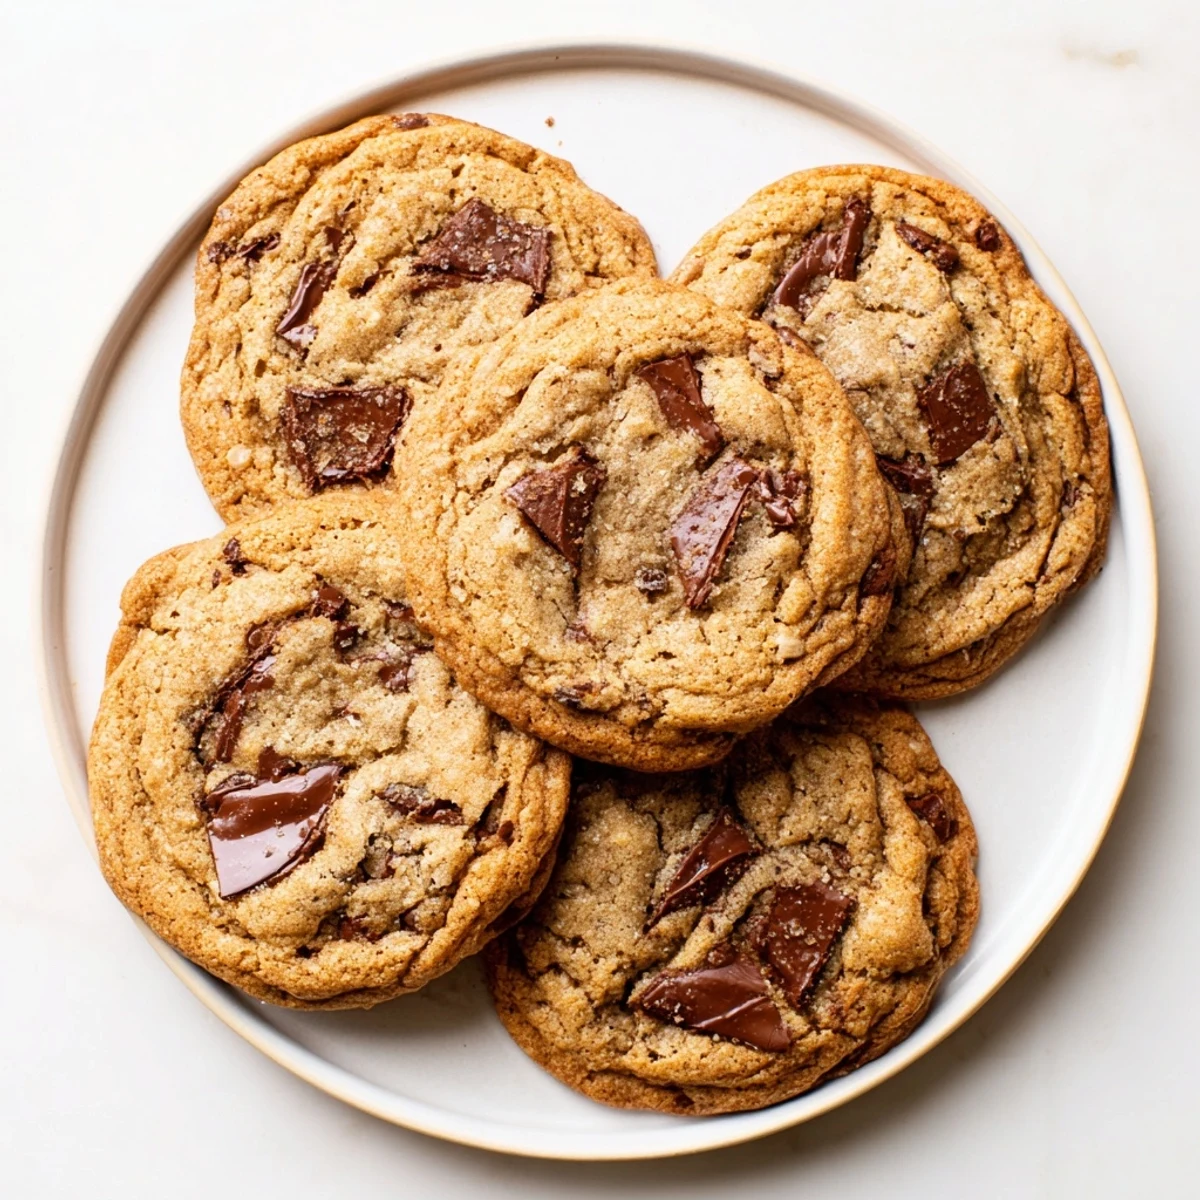 Pin it
 Nothing beats a warm cookie straight from the oven with a cold glass of milk after a long day.
Recipe Q&A
- → Why use brown butter instead of regular butter?
-
Brown butter adds a rich, nutty flavor with caramel notes that enhances the overall taste. The milk solids toast during cooking, creating depth that regular butter cannot provide.
- → Can I skip chilling the dough?
-
Chilling is optional but recommended for thicker cookies. It prevents excessive spreading during baking and allows flavors to meld together for a more complex taste.
- → What type of chocolate works best?
-
Semi-sweet chocolate chips or chunks provide balanced sweetness. You can also use dark chocolate for a more intense flavor or white chocolate for a sweeter variation.
- → How do I know when the butter is properly browned?
-
The butter will foam, then turn golden brown with a nutty aroma. Watch closely as it can burn quickly. Once browned, immediately transfer it to a bowl to stop the cooking process.
- → Can I freeze the dough?
-
Yes, scoop the dough onto a baking sheet and freeze until solid. Transfer to a freezer bag and store for up to three months. Bake from frozen, adding a few extra minutes.
- → Why add sea salt to the dough?
-
Sea salt enhances the chocolate flavor and balances the sweetness. It creates a more complex taste profile that makes these treats addictive and sophisticated.
