 Pin it
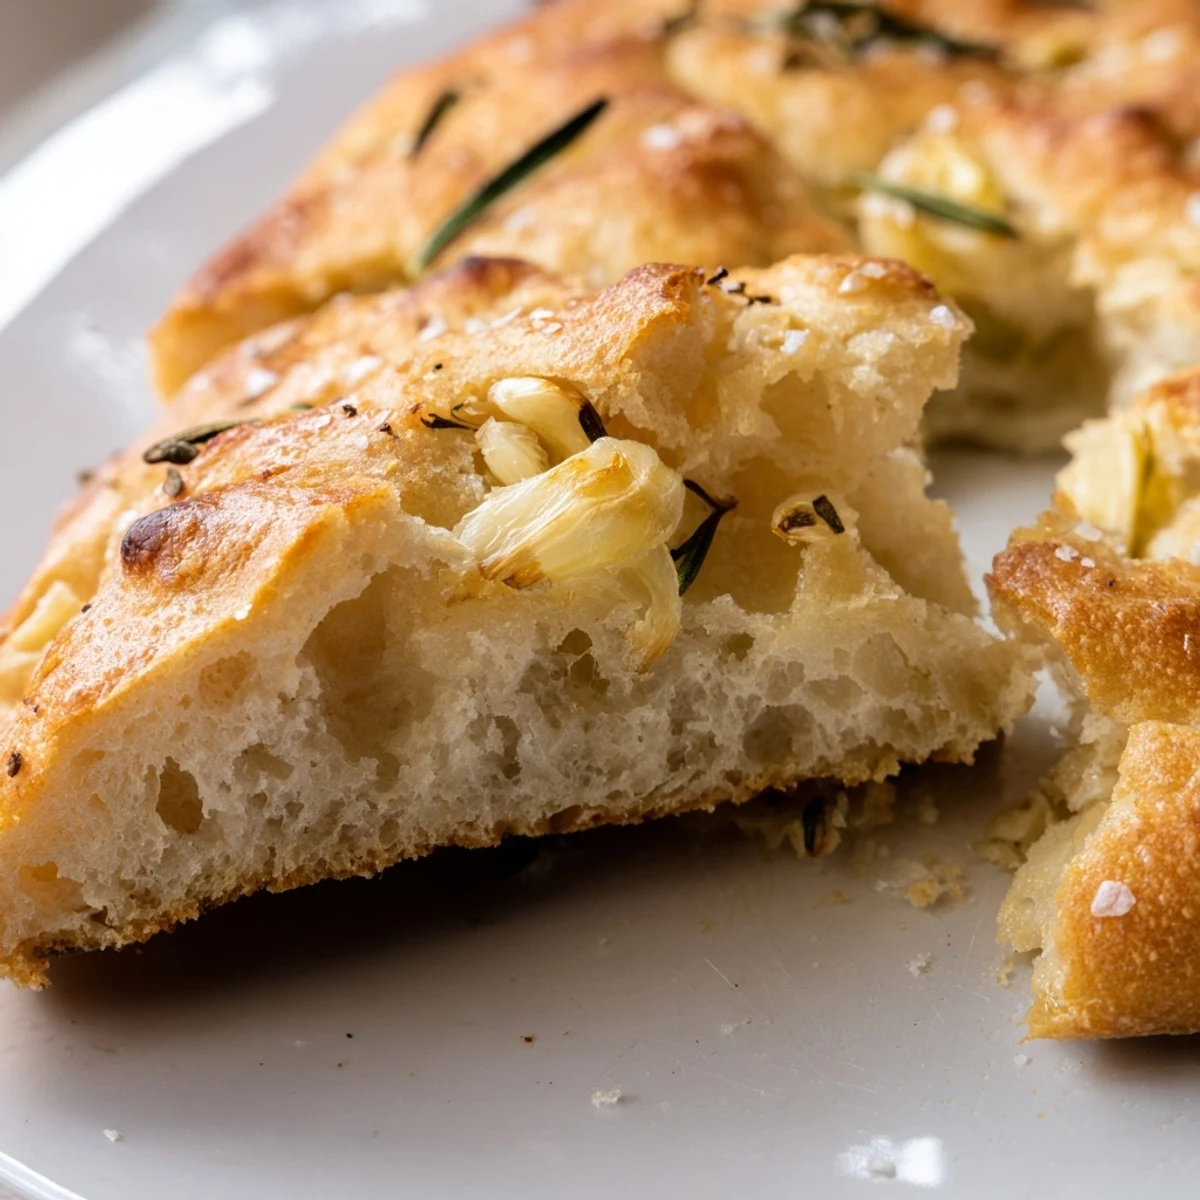
 This artisan skillet bread combines simple ingredients—bread flour, active yeast, warm water, and olive oil—with aromatic fresh rosemary and minced garlic. The dough rises to double size before baking in a well-oiled cast iron skillet at high heat, creating golden crusty edges and a tender, chewy crumb. Finished with flaky sea salt, this European-style bread emerges fragrant and perfect for sharing. The two-hour process includes hands-on preparation time and rising periods, yielding eight generous slices that pair beautifully with soups, stews, or extra virgin olive oil for dipping.
The smell of rosemary hitting hot olive oil still takes me back to my first apartment, where I learned that some of the best comfort foods come from the simplest ingredients. This skillet bread became my go-to for dinner parties because it looks impressive but requires almost no skill. There is something deeply satisfying about pulling bread from a cast iron skillet, the edges crisped to golden perfection while the inside stays tender.
I once served this bread at a last-minute gathering when friends dropped by unexpectedly. The pan was empty within minutes, and someone actually asked if I had picked it up from a local bakery. Watching people tear off warm, fragrant pieces straight from the skillet created one of those cozy dinner moments that lingers in memory long after the night ends.
Ingredients
- Bread flour: The higher protein content creates that perfect chewy texture you want in rustic bread
- Active dry yeast: Make sure your water is warm but not hot, or you will kill the yeast before it can work its magic
- Fresh rosemary: Dried herbs will not give you the same aromatic punch, so use fresh if at all possible
- Garlic: Minced finely so it disperses evenly throughout the dough
- Olive oil: Use a good quality oil since the flavor really comes through in the final bake
Instructions
- Wake up the yeast:
- Whisk warm water and yeast in a large bowl, then walk away for 5 minutes until you see a foamy layer on top
- Build the dough:
- Add flour and salt, mixing until shaggy, then knead for 5 to 7 minutes until the dough feels smooth and slightly tacky to the touch
- Infuse the flavors:
- Drizzle in olive oil, rosemary, and garlic, then knead just long enough to distribute everything evenly
- Let it rise:
- Place dough in a greased bowl, cover with a damp towel, and leave it alone in a warm spot for about an hour until it has doubled
- Shape for the skillet:
- Oil your skillet generously, press the dough into it reaching toward the edges, then let it rise again for 25 to 30 minutes
- Finish and bake:
- Brush the top with olive oil, scatter flaky salt over the surface, then bake at 425°F for 30 to 35 minutes until deeply golden
 Pin it
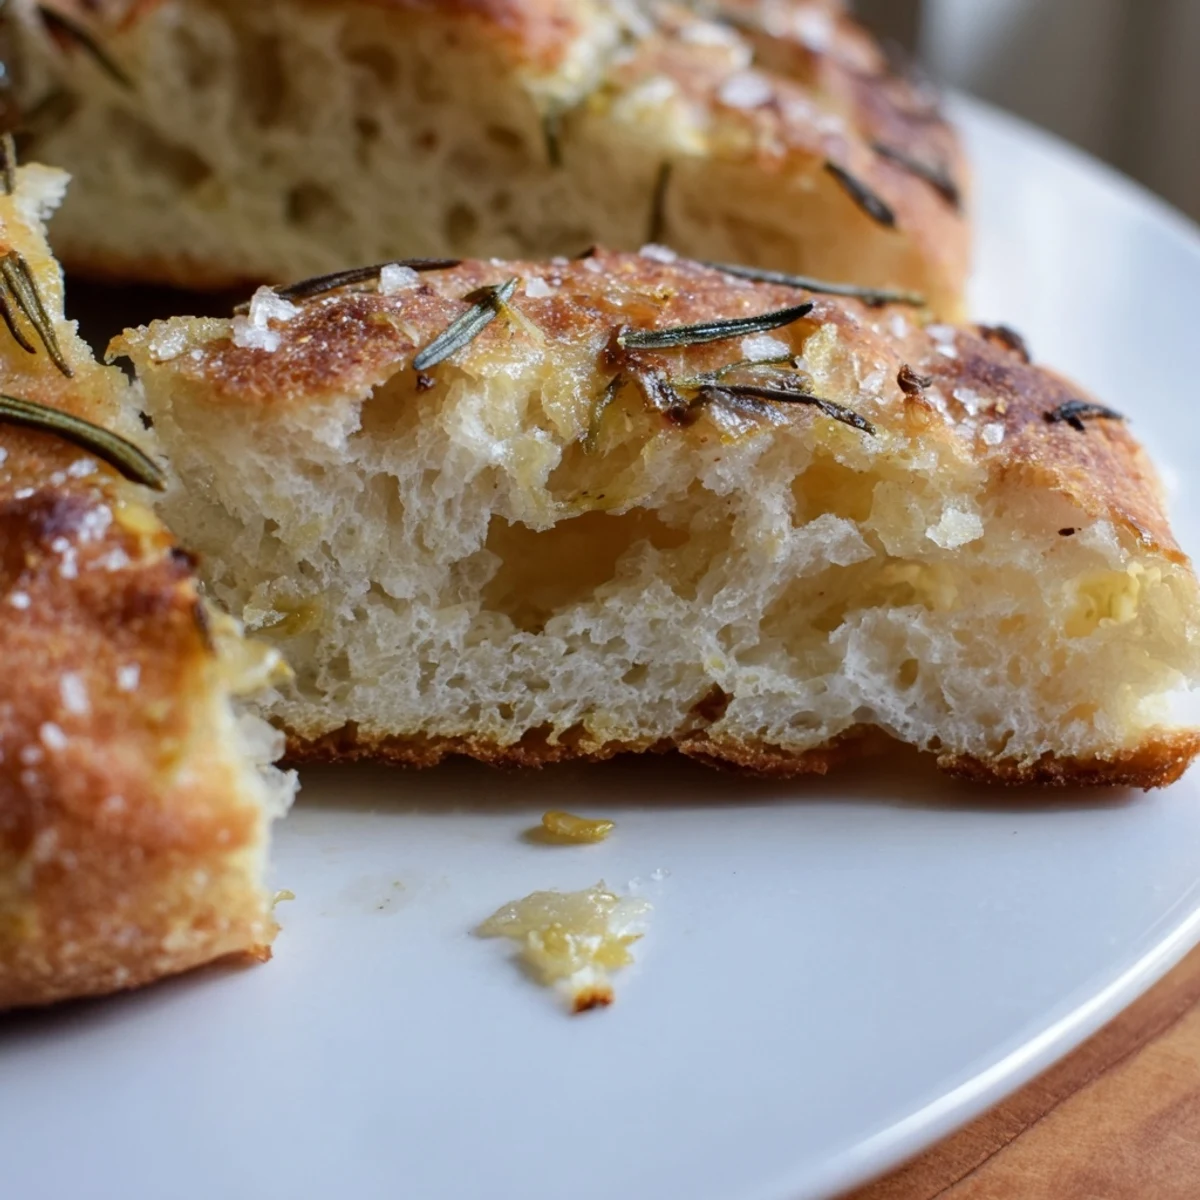
 This bread has become the centerpiece of so many meals, from simple weeknight dinners to holiday feasts. Something about breaking bread directly from the pan makes the whole table feel more connected, turning dinner into an occasion.
Getting the Best Rise
Find the warmest spot in your kitchen, perhaps near a sunny window or on top of a running dryer. I once rushed the rise and ended up with a dense, disappointing loaf, so now I treat those rising minutes as sacred waiting time.
Cast Iron vs Other Skillets
A cast iron skillet really does make a difference with heat distribution and that beautifully crisp crust. If you do not have one, any oven-safe skillet will work, though the edges may not get quite as golden.
Serving Suggestions
This bread shines alongside soups, stews, or simply torn and dipped in good olive oil. I have also used leftover slices for the most incredible paninis the next day.
- Try swapping thyme or sage for the rosemary when you want a different flavor profile
- Roast the garlic beforehand for a sweeter, milder taste that melts into the dough
- Keep a small bowl of olive oil on the table for dipping while the bread is still warm
 Pin it
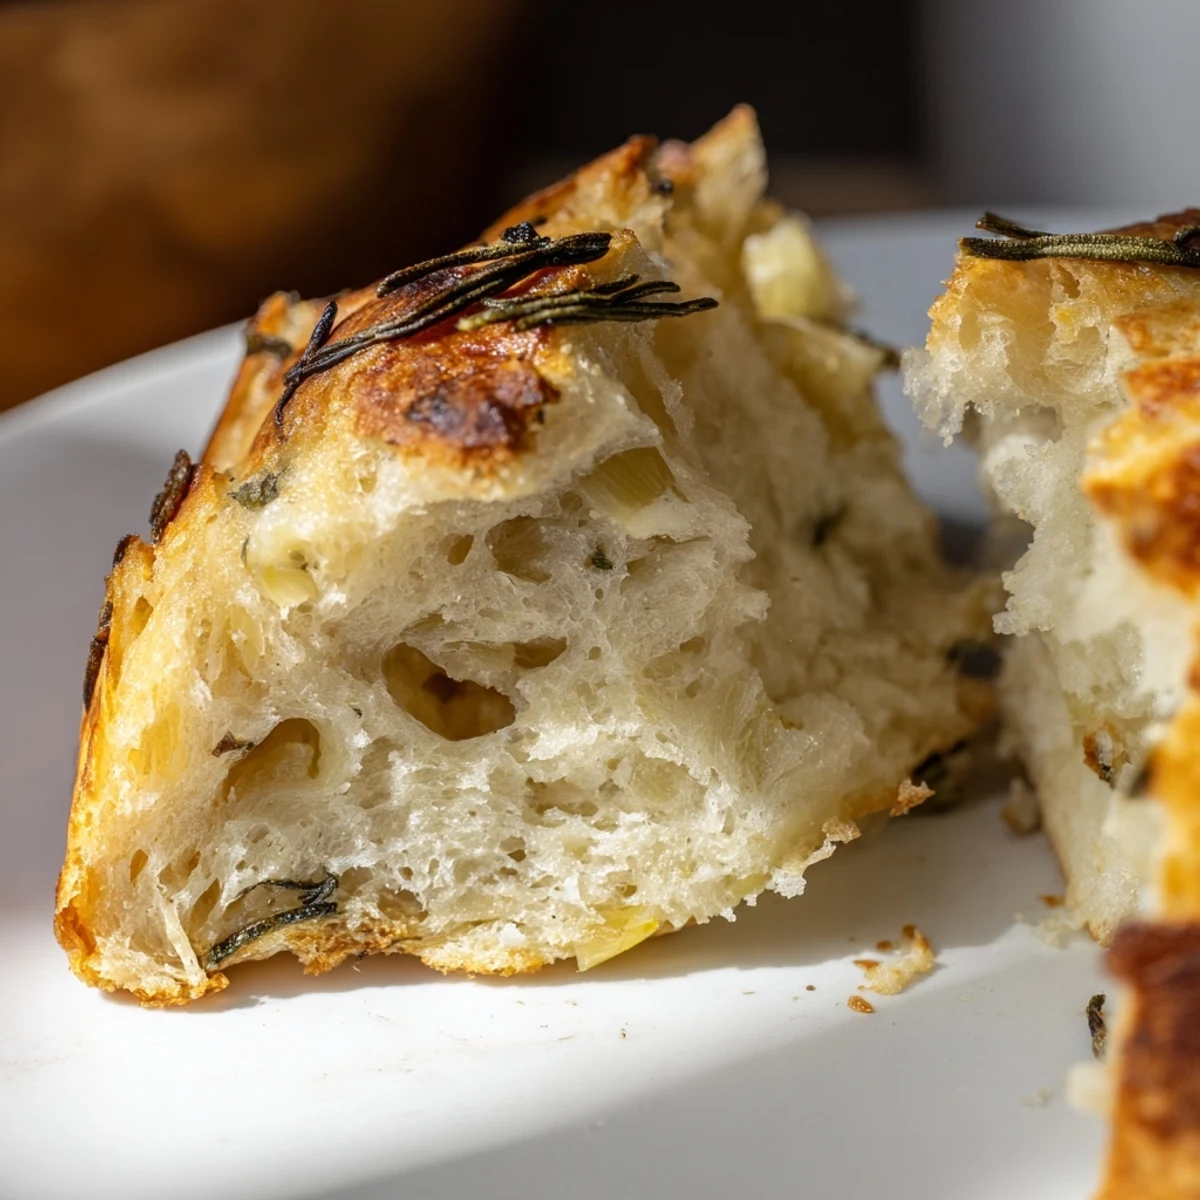
 There is nothing quite like the first warm slice, still steaming and fragrant, shared with people you love.
Recipe Q&A
- → Can I use dried rosemary instead of fresh?
-
Fresh rosemary provides the best aromatic flavor, but you can substitute dried rosemary. Use one-third the amount—about 2 teaspoons instead of 2 tablespoons. Rehydrate the dried herbs in warm water for 10 minutes before adding to the dough to help them distribute evenly and prevent a dry texture.
- → What type of skillet works best for this bread?
-
A 10-inch cast iron skillet is ideal because it retains heat evenly and creates excellent crust formation. However, any oven-safe skillet of similar size will work. Ensure the pan is well-greased with olive oil to prevent sticking and promote crispy edges. Avoid using non-stick pans with plastic handles that aren't oven-safe.
- → How can I tell when the bread is fully baked?
-
The bread is done when the top is golden brown and sounds hollow when tapped gently. The internal temperature should reach 200°F (93°C) when measured with a kitchen thermometer. If the top browns too quickly, tent with foil for the last 10 minutes. Allow to cool for at least 15 minutes before slicing to prevent the crumb from becoming gummy.
- → Can I prepare the dough ahead of time?
-
Yes, you can prepare the dough and refrigerate it after the first rise for up to 24 hours. Let the dough come to room temperature for 30 minutes before pressing it into the skillet for the second rise. This extended fermentation actually enhances the flavor development and creates a more complex taste profile.
- → What herbs can I substitute for rosemary?
-
Thyme, sage, or oregano work beautifully as alternatives. Fresh thyme pairs especially well with garlic and creates a more subtle flavor. Sage provides an earthier taste perfect for autumn serving. Use the same quantity—2 tablespoons of chopped fresh herbs. You can also create an herb blend combining multiple varieties for a more complex aromatic profile.
- → Why did my dough not double in size during rising?
-
This usually happens if the water was too hot, killing the yeast, or if the environment was too cold. The water should be warm to the touch (105-110°F) but not scalding. Find a warm, draft-free spot for rising—a slightly warm oven with just the pilot light on works well. Also ensure your yeast is fresh and not past its expiration date.
