 Pin it
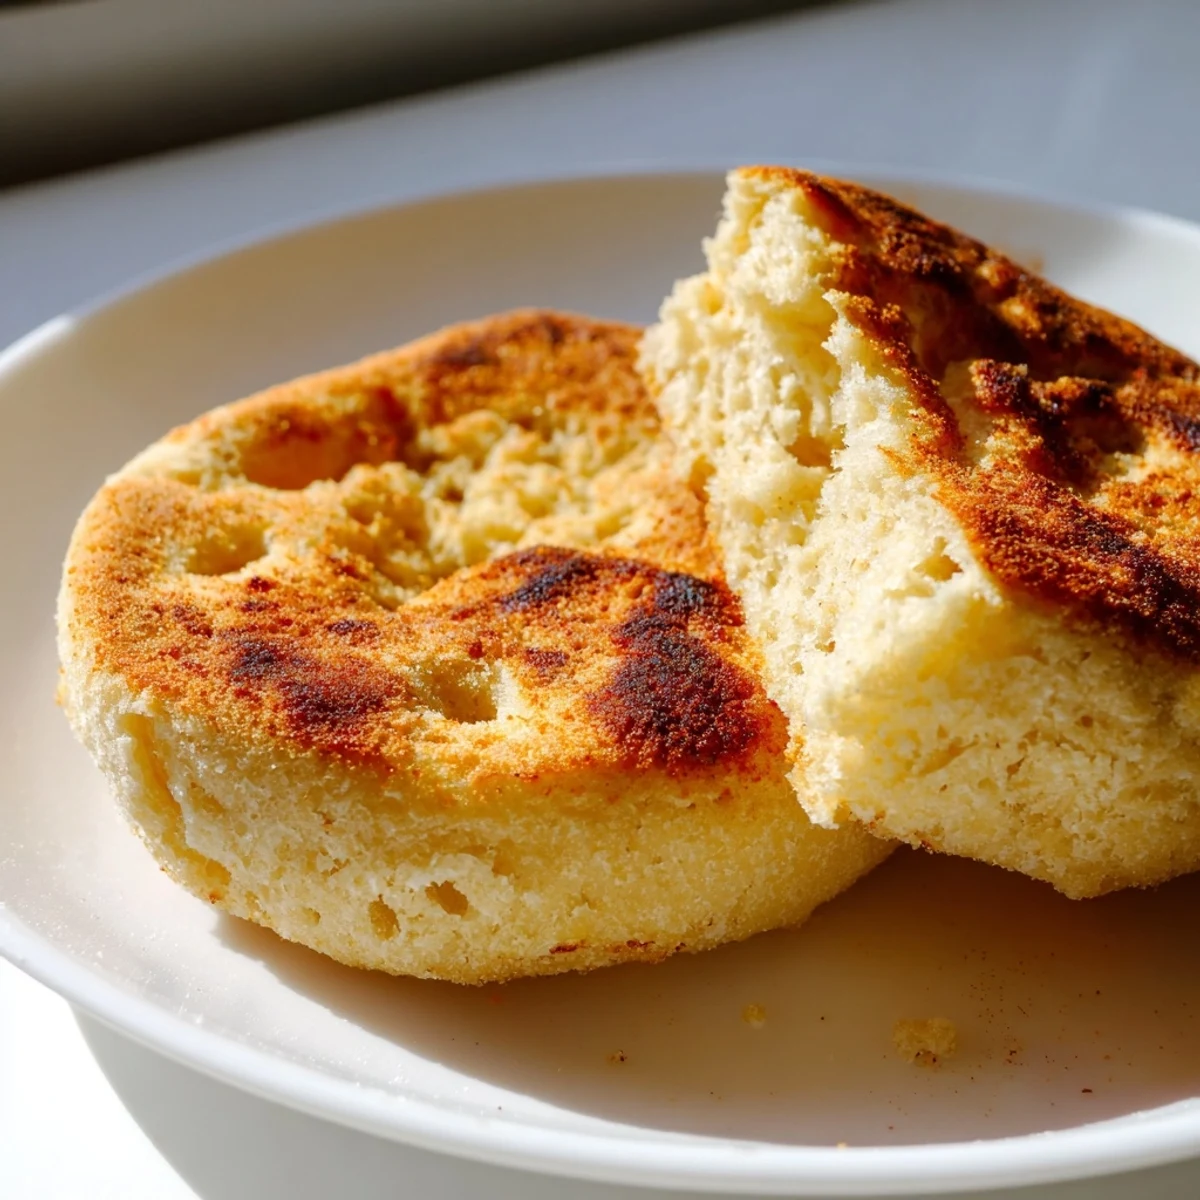
 Craft classic British-style English muffins featuring soft, airy interiors surrounded by golden-brown crusts. These beloved breakfast staples boast the signature nooks and crannies that perfectly capture melted butter and your favorite fruit preserves.
The dough comes together with simple pantry staples—bread flour, milk, yeast, and butter—requiring just 25 minutes of hands-on preparation before letting yeast work its magic. After rising, portion into rounds, dust with cornmeal for traditional texture, and griddle until deep golden on both sides.
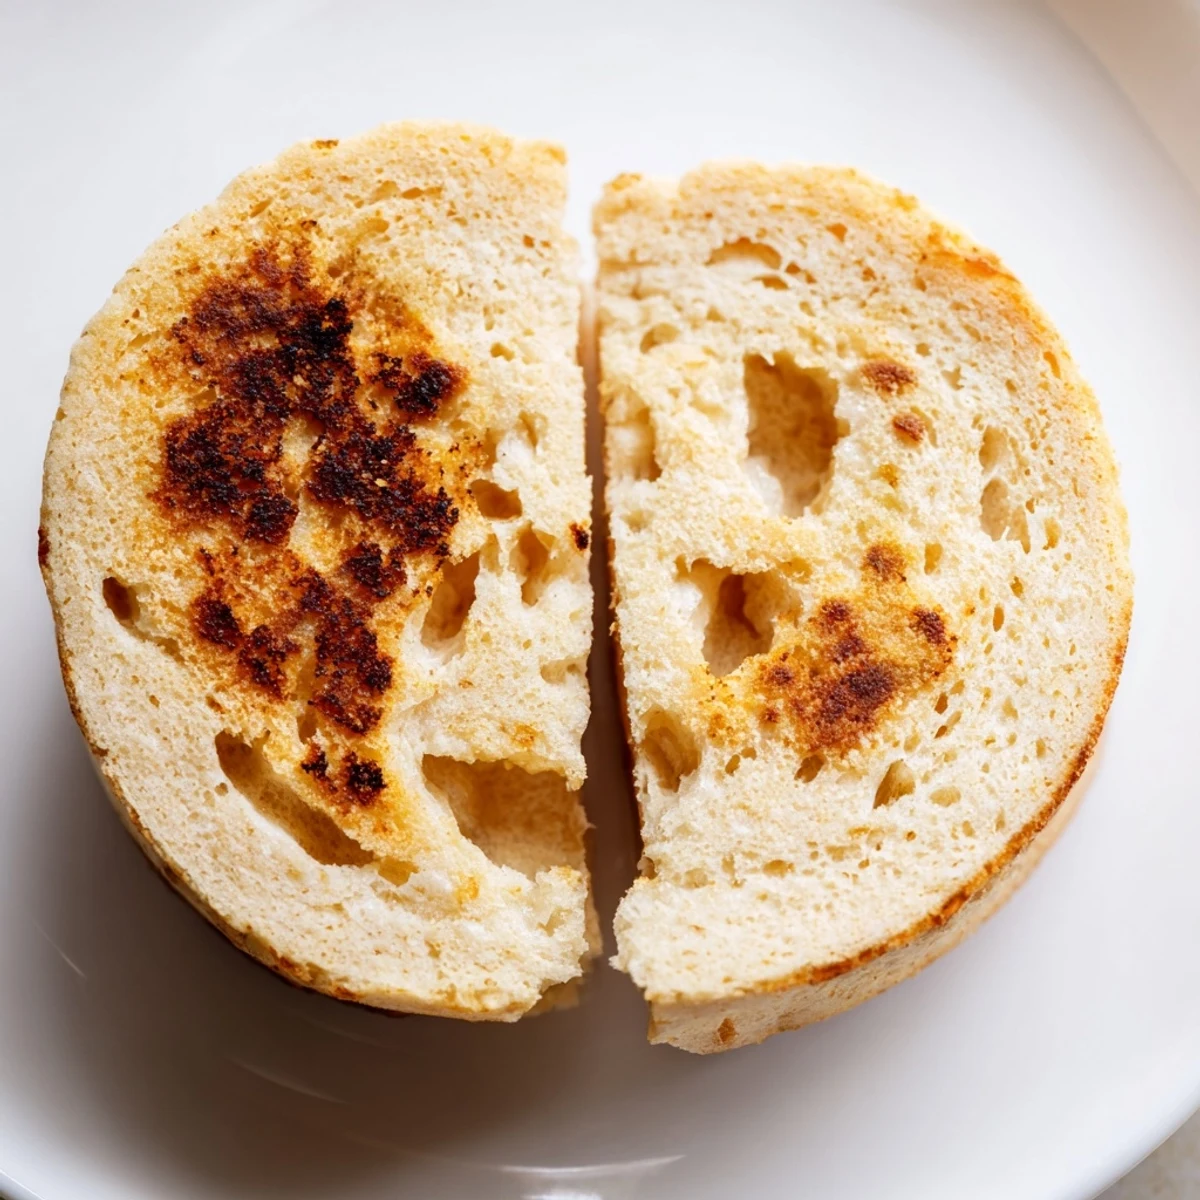
Split with a fork to preserve those beloved craggy pockets, toast until warm, and serve slathered with salted butter and strawberry jam. The yield of eight muffins stores beautifully for quick weekday breakfasts or freezes for future enjoyment.
My Sunday morning routine shifted forever after a spontaneous breakfast experiment at 7am. Id been eyeing English muffins at bakeries for years, assuming they required some mystical technique beyond my reach. That morning, tired of store-bought versions that never toasted quite right, I just went for it.
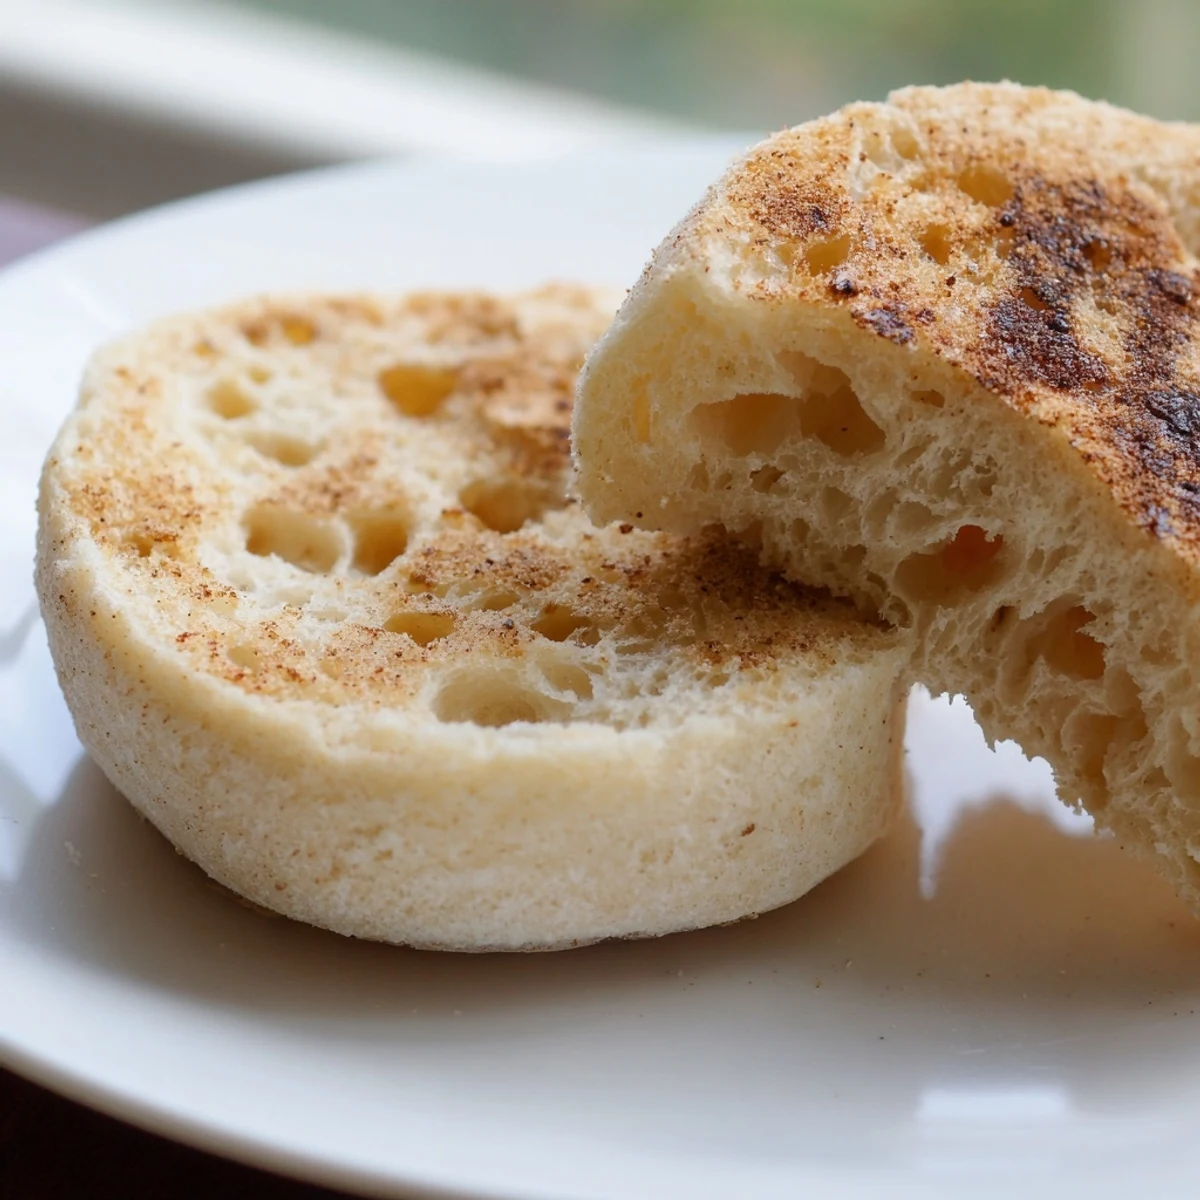
When my sister visited last month, she watched me split the first warm muffin with a fork. That signature crackle sound, followed by steam curling up into the kitchen silence, made us both pause. We stood at the counter eating them plain, still too hot to handle properly, neither of us reaching for butter or jam.
Ingredients
- Bread flour: The higher protein content creates that signature chewy structure soft flours cant achieve
- Whole milk: Lukewarm is crucial here, too cold and the yeast wont wake up, too hot and youll kill it
- Active dry yeast: Dissolving it first with sugar gives you confidence its alive before committing to the dough
- Unsalted butter: Melted and cooled slightly, it disperses evenly without creating greasy spots
- Cornmeal or semolina: This dusting prevents sticking and adds that professional looking texture on both sides
Instructions
- Wake up the yeast:
- Dissolve the yeast and sugar in lukewarm milk, then walk away for 10 minutes. Coming back to find a frothy layer on top feels like a tiny kitchen victory every single time.
- Build the dough:
- Whisk flour and salt in a large bowl, make a well in the center, and pour in your bubbly yeast mixture with melted butter. Stir until it looks messy and shaggy, that means youre on the right track.
- Knead until smooth:
- Turn the dough onto a floured surface and knead for 8 to 10 minutes, or let your stand mixer do the work for 5 to 6 minutes. The dough should push back slightly when you press it and feel silky smooth.
- Let it rise:
- Place the dough in a lightly oiled bowl, cover it, and find the warmest spot in your kitchen. Wait about 1 to 1.5 hours until it has doubled, which always feels longer than it actually is.
- Shape the muffins:
- Punch down the dough, roll it to 3/4 inch thickness, and cut circles with a 3 inch round cutter. Reroll the scraps without overworking them to get about 8 muffins total.
- Second proof:
- Dust a baking sheet with cornmeal, arrange the muffins with space between them, and sprinkle more cornmeal on top. Cover loosely and let them puff for 25 to 30 minutes.
- Cook low and slow:
- Heat a skillet over low to medium heat, grease it lightly, and cook muffins for 7 to 9 minutes per side. They should be deeply golden and reach 200F inside, so resist the urge to rush the heat.
 Pin it
 Last winter during a snowstorm, these became the center of our impromptu brunch. Friends who thought store-bought muffins were just fine changed their minds after one bite of a fresh split muffin, still warm from the skillet.
Getting The Rise Right
Yeast can be intimidating, but the foam test tells you everything you need to know before you proceed. If your kitchen runs cool, try proofing the dough in your oven with just the light on, or near a radiator while keeping drafts away.
The Perfect Griddle Temperature
Low and steady heat wins every time, since too-high heat burns the outside before the center cooks through. I keep an instant-read thermometer nearby and aim for an internal temperature of 200F, which guarantees theyre done without being dry.
Storage And Freshness
These muffins keep at room temperature for 3 days in a sealed container, or freeze them for up to 2 months wrapped tightly. Thaw frozen ones overnight or pop them directly into the toaster from frozen.
- Split before freezing for quicker toasting later
- Wrap individually in plastic wrap for the best freezer protection
- Refresh day-old muffins by splitting and toasting to restore that fresh-baked texture
 Pin it
 Once you make your own English muffins, the store-bought ones just taste like missed opportunities. Pulling a batch from your own freezer on a Tuesday morning feels like a small act of kitchen magic.
Recipe Q&A
- → How do I get those signature nooks and crannies?
-
The secret lies in using a fork to split your muffins rather than slicing with a knife. This method preserves the airy interior structure, creating those beloved craggy pockets that perfectly hold melted butter and jam.
- → Can I make these without a griddle?
-
A cast iron skillet or heavy-bottomed frying pan works beautifully. The key is cooking over medium-low heat to ensure the centers fully cook before the exteriors become too dark. A large pan allows you to cook multiple muffins simultaneously.
- → Why use cornmeal when dusting?
-
Cornmeal or semolina adds authentic texture and prevents the dough from sticking while cooking. It creates that slight crunch on the exterior and mimics traditional bakery-style English muffins, plus it helps achieve the characteristic golden-brown crust.
- → How long should I let the dough rise?
-
The first rise typically takes 1 to 1.5 hours in a warm spot until doubled in size. After cutting into rounds, allow 25-30 minutes for a second proof until slightly puffed. This two-stage fermentation develops flavor and creates the light, airy texture.
- → Can I freeze these for later?
-
Absolutely. Once completely cooled, store in an airtight container or freezer bag for up to two months. Thaw overnight at room temperature, then split and toast to refresh. They reheat beautifully and taste nearly as good as freshly made.
- → What's the best way to tell when they're cooked through?
-
Look for deep golden color on both sides and listen for a hollow sound when tapped lightly. An instant thermometer inserted into the center should read 200°F. If they're browning too quickly, reduce heat and cook longer to ensure the centers finish.
