 Pin it
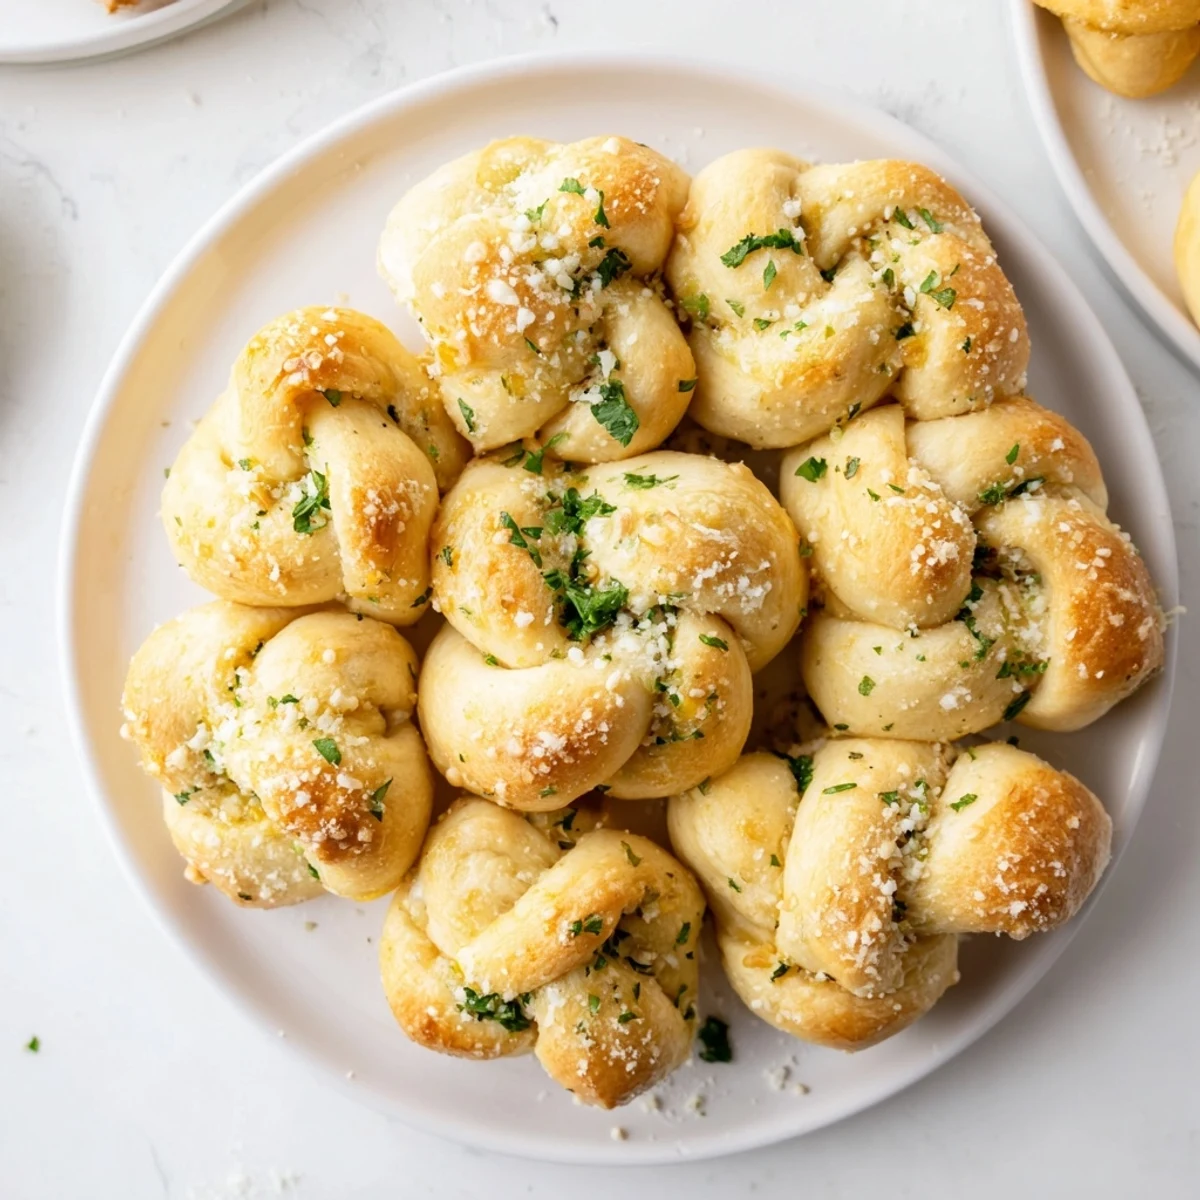
 These soft, pillowy knots bring authentic Italian flavor to your table without gluten. The dough combines gluten-free flour with warm milk and eggs, creating a tender texture that bakes beautifully. Each knot is brushed generously with aromatic garlic butter infused with fresh parsley, salt, and pepper. The result is golden, savory bites perfect for dipping in warm marinara or serving alongside your favorite pasta.
The first time I made gluten-free garlic knots, my kitchen smelled like an Italian bakery and I honestly could not believe these came from my oven. I had been missing that pillowy, chewy texture ever since going gluten-free, and these knots delivered everything I had been craving. My husband took one bite and immediately asked if I could make them every week. Now they are a constant request at family gatherings and dinner parties alike.
Last Christmas Eve, I made three batches of these knots for our Italian-themed dinner. My gluten-eating aunt actually preferred them over the regular breadsticks, which is the highest compliment I could hope for. The whole family stood around the kitchen island, pulling apart warm, buttery knots and catching up over the savory aroma.
Ingredients
- Gluten-Free All-Purpose Flour: I have tested many brands and the ones with xanthan gum already blended in give the most reliable, bread-like texture every time
- Instant Yeast: This skips the proofing step and works beautifully with warm milk to activate quickly
- Warm Milk: The temperature should feel comfortably warm on your wrist, about 110°F, to wake up the yeast without killing it
- Olive Oil: This adds moisture and helps create a tender crumb that stays soft even after cooling
- Eggs: Room temperature eggs incorporate better and provide structure that gluten-free flour needs
- Unsalted Butter: We melt this with fresh garlic to coat the knots while they are still hot from the oven
- Fresh Parsley: The bright, herbaceous flavor balances the rich garlic perfectly and adds beautiful color
- Salt and Pepper: These season the garlic butter and also help balance the sweetness in the dough
Instructions
- Make the Dough:
- Whisk together the gluten-free flour, sugar, instant yeast, salt, and baking powder in a large bowl until well combined. Add the olive oil, warm milk, and room temperature eggs, mixing until a soft, slightly sticky dough forms.
- Rest the Dough:
- Cover the bowl with plastic wrap and set it in a warm, draft-free spot for 30 minutes. This rest period is crucial for hydrating the flour and letting the yeast work its magic.
- Shape the Knots:
- Lightly oil your hands to prevent sticking, then divide the dough into 12 equal pieces. Roll each piece into a 6-inch rope and tie into a loose knot, tucking the ends underneath. Place on a parchment-lined baking sheet.
- Second Rest:
- Cover the shaped knots with a clean towel and let them rest for 10 minutes while you preheat the oven to 375°F. This short rest helps them puff up beautifully in the oven.
- Bake to Golden:
- Bake for 18 to 20 minutes until the knots are golden brown and cooked through. The crust should be lightly crisp while the inside remains soft and tender.
- Prepare Garlic Butter:
- While the knots bake, melt the butter in a small saucepan over medium heat. Add the minced garlic and cook for just 1 minute until fragrant, then remove from heat and stir in parsley, salt, and pepper.
- Coat and Serve:
- Brush the hot knots generously with the garlic butter immediately after removing from the oven. Sprinkle with grated Parmesan if desired and serve warm while the butter is still glistening.
 Pin it
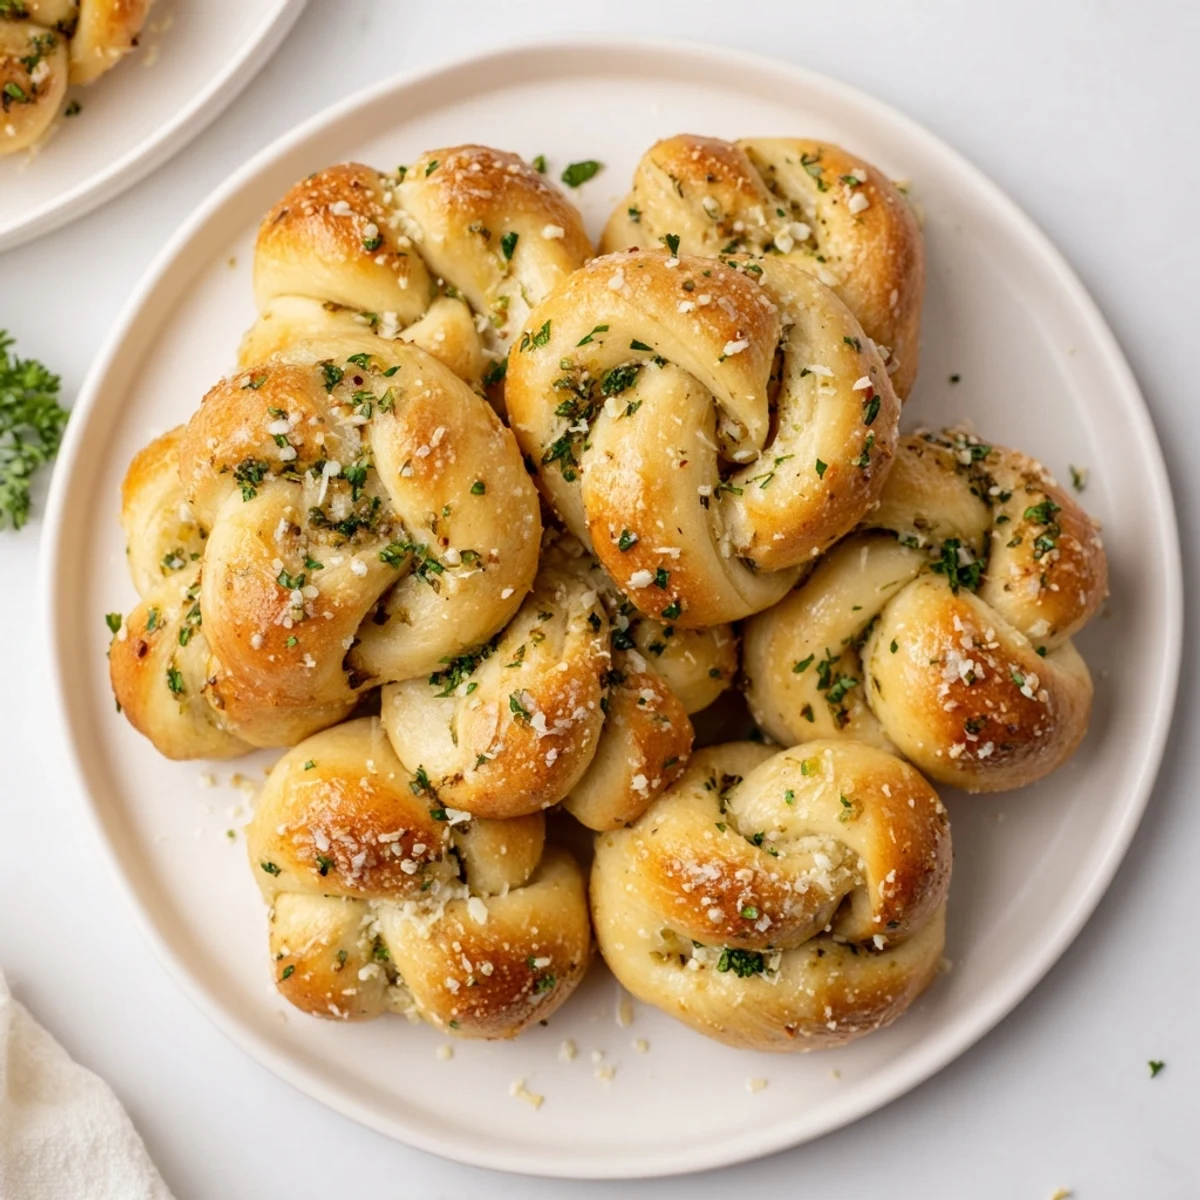
 These knots have become my go-to when I want to make something special that everyone can enjoy, regardless of dietary restrictions. Watching people's faces light up when they realize these are gluten-free never gets old. Food that brings people together is the best kind of food.
Making Them Vegan
I have successfully made these dairy-free by using almond milk, vegan butter, and skipping the Parmesan cheese entirely. The knots are still deliciously soft and the garlic butter coating remains incredibly flavorful. For the eggs, a flaxseed egg substitute works, though the texture is slightly less tender.
Herb Variations
Fresh rosemary or thyme folded into the garlic butter adds lovely earthy notes that pair beautifully with Italian dishes. I have also experimented with adding red pepper flakes for a spicy version that my friends absolutely devoured. The possibilities for customizing these knots are endless.
Serving Suggestions
These garlic knots are perfect alongside pasta dishes, soups, or as an appetizer with marinara sauce for dipping. I love serving them with a simple green salad and glass of wine for an easy weekend lunch at home.
- Double the garlic butter if you are serious about garlic flavor
- Freeze unbaked knots on a baking sheet, then transfer to a bag for fresh baking later
- Make mini knots for appetizers or larger ones for a main accompaniment
 Pin it
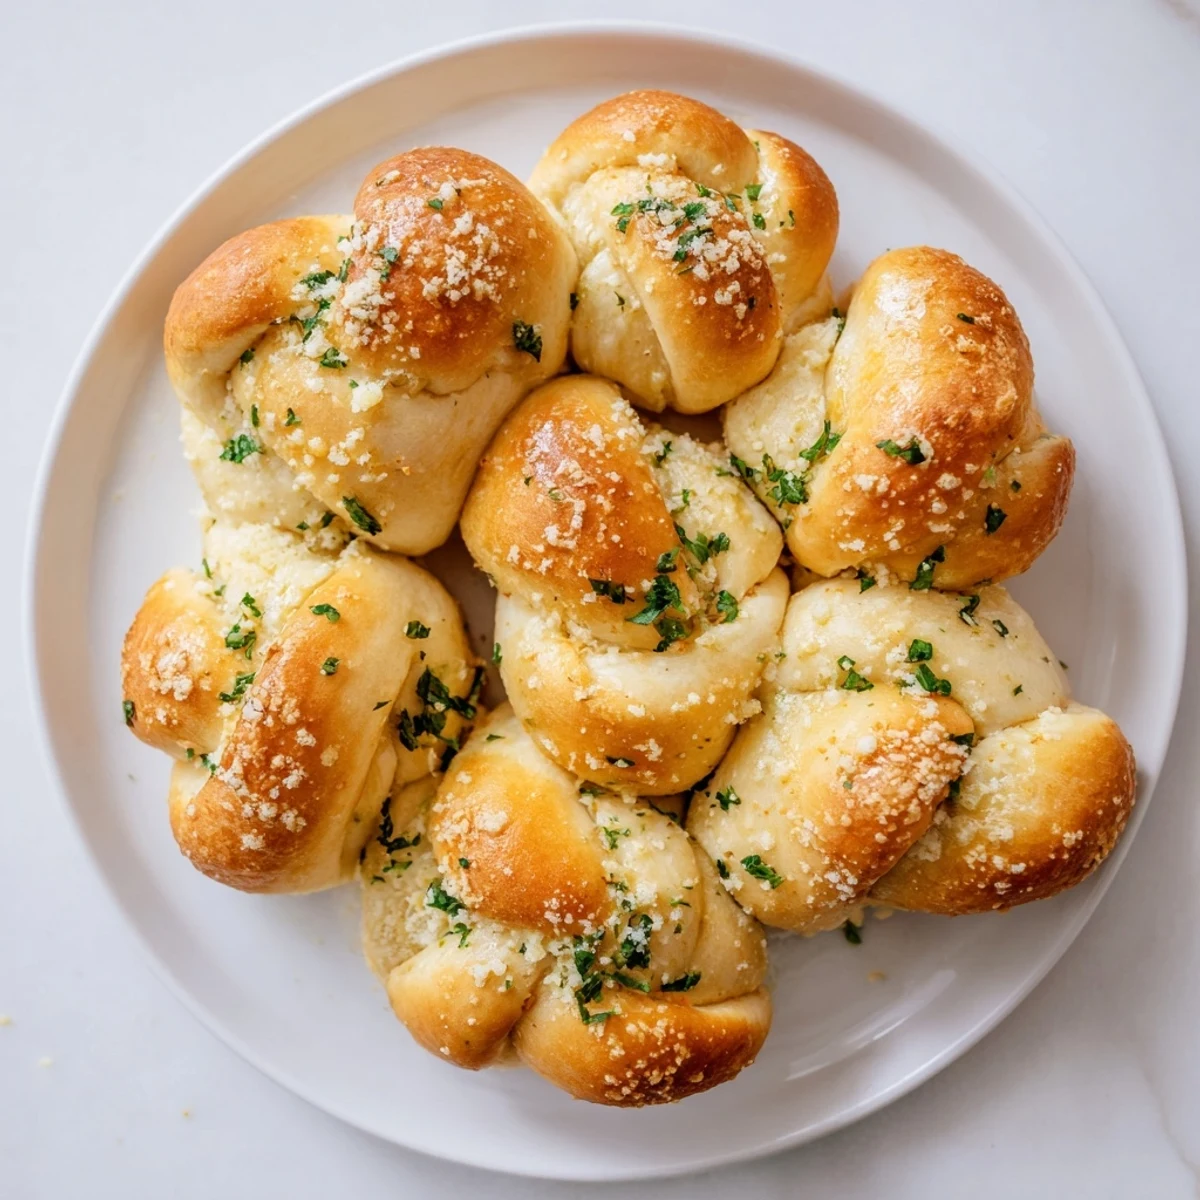
 There is something deeply satisfying about pulling apart a warm, garlicky knot with your hands. I hope these become a cherished recipe in your kitchen too.
Recipe Q&A
- → Can I make these garlic knots dairy-free?
-
Yes, simply use non-dairy milk, vegan butter, and dairy-free Parmesan alternative. The texture remains just as soft and delicious.
- → Why does the dough need to rest twice?
-
The first rest allows the gluten-free flour to hydrate properly and the yeast to activate. The second brief rest after shaping helps the knots maintain their structure while baking.
- → Can I freeze these knots?
-
Absolutely. Bake the knots completely, let them cool, and freeze in an airtight container for up to 3 months. Reheat in the oven and brush with fresh garlic butter.
- → What herbs work best in the garlic butter?
-
Fresh parsley is traditional, but you can add chopped rosemary, thyme, or oregano for extra flavor. Dried herbs work in a pinch at about one-third the amount.
- → How do I know when the knots are done baking?
-
Look for a golden-brown color on top and bottom. The knots should sound slightly hollow when tapped on the bottom, and an instant thermometer inserted into the center should read 190°F.
- → Can I make the dough ahead of time?
-
Yes, prepare the dough and refrigerate it after the first rest for up to 24 hours. Let it come to room temperature before shaping and baking.
